Create Terms Link
Generating a terms link is a feature that issues a unique URL so users can view legal notices through a web browser.
Create a terms link by following the steps below, and use it wherever a terms link is required, such as an in-app terms review link, a terms agreement link for web store and community sign-up, or a notice link for the Terms of Service and Privacy Policy on a website.
Register Terms Type
Set the name of the terms type, such as Privacy Policy or Terms of Service.
➡️ Console path: Provisioning > Terms > Register Terms Content > Manage Terms Type(T)
How to set up:
- In Register Terms Content > Manage Terms Type(T), click the [Add Terms Type(T)] button. Enter the brand(company name) and the terms type to use.


- When you are done, click the [Save] button.
Register Terms Content
Go to the console path below and write the terms content.
➡️ Console path: Provisioning > Terms > Register Terms Content > Manage Terms Content(S)
How to set up:
- In Register Terms Content > Manage Terms Content(S), click the [Add New Content(S)] button.
- Select the terms type created in Step 1, enter the service language, push consent status(select ‘None’), personal information collection consent(select ‘No personal information collection consent’), terms title, and memo, then click the [Save] button.


- In Register Terms Content > Manage Terms Content(S), click the [Edit] icon in the management item to go to the detail page.
- Click the [Create New Version] button, specify the effective date, write the terms body using the editor, and save it.


- If multilingual terms are required, repeat steps 1 to 4. In step 2, change the language, write the terms content for that language, and save it. The terms for the corresponding language are displayed automatically according to the user's browser language.
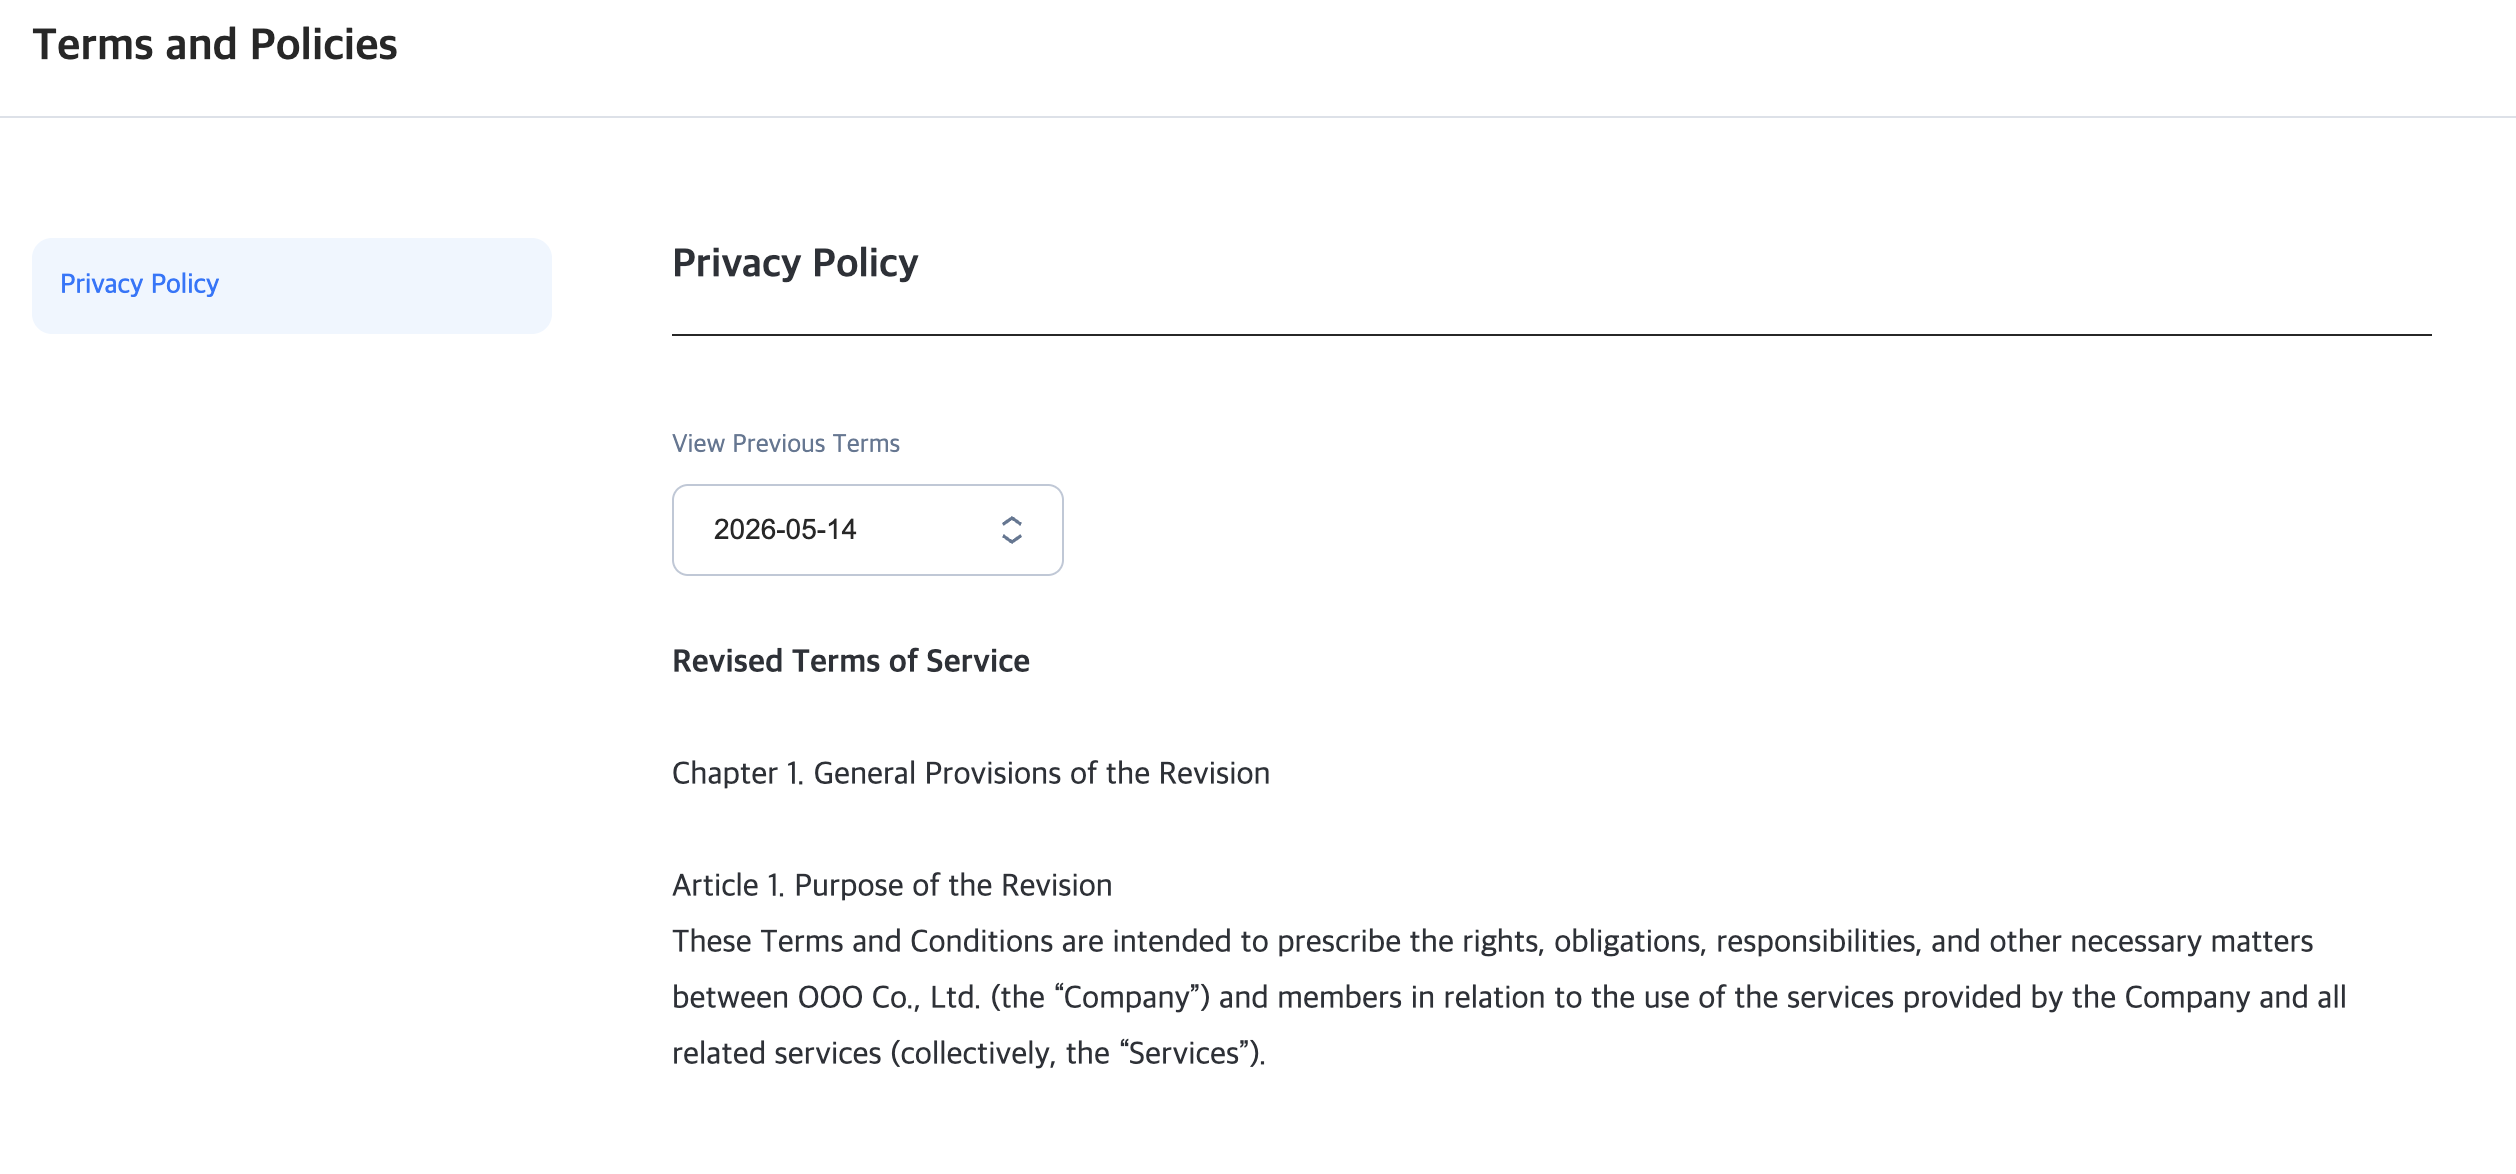
Generate Terms Link
Generate a link so terms for each language are displayed automatically according to the browser language settings, or so multiple terms can be viewed on a single web page. Go to the console path below to configure the settings.
➡️ Console path: Provisioning > Terms > Terms Group Settings > Terms Combination(M)
How to set up:
- In Terms Combination(M), click the [Add Terms Combination(M)] button to display the settings screen.

- Enter the management name and memo, set whether to use terms agreement to ‘Not Use’, and set whether to use review to ‘Use’.
- When you select the brand, category(terms type), and language in the review settings, the list of terms content created in Step 1 is displayed.

- To allow multiple types of terms to be viewed on a single web page, click the [Add Item] button in the review settings, select the terms type and the corresponding content, and set all languages to the same language. Refer to the setup example below.

- To support multiple languages for each term, click the [Add Item] button in the review settings, select the same terms type for all items, then select and register the language value and the terms content for that language. Refer to the setup example below.

- When steps 1 to 5 are complete, a terms link is generated. Copy the generated terms link by clicking [Copy URL] in the review item.
- Enter the copied URL in the browser address bar and check whether it is displayed correctly. If multilingual terms are configured, change the browser language and check whether the content configured for each language is displayed.
- When a terms link is required in a web environment such as in-app terms review, community, web store, customer support, or website, click [Copy URL] and use it as needed.
