iOS
This guide explains the tasks to perform after installing Hive SDK iOS.
Setting access permissions
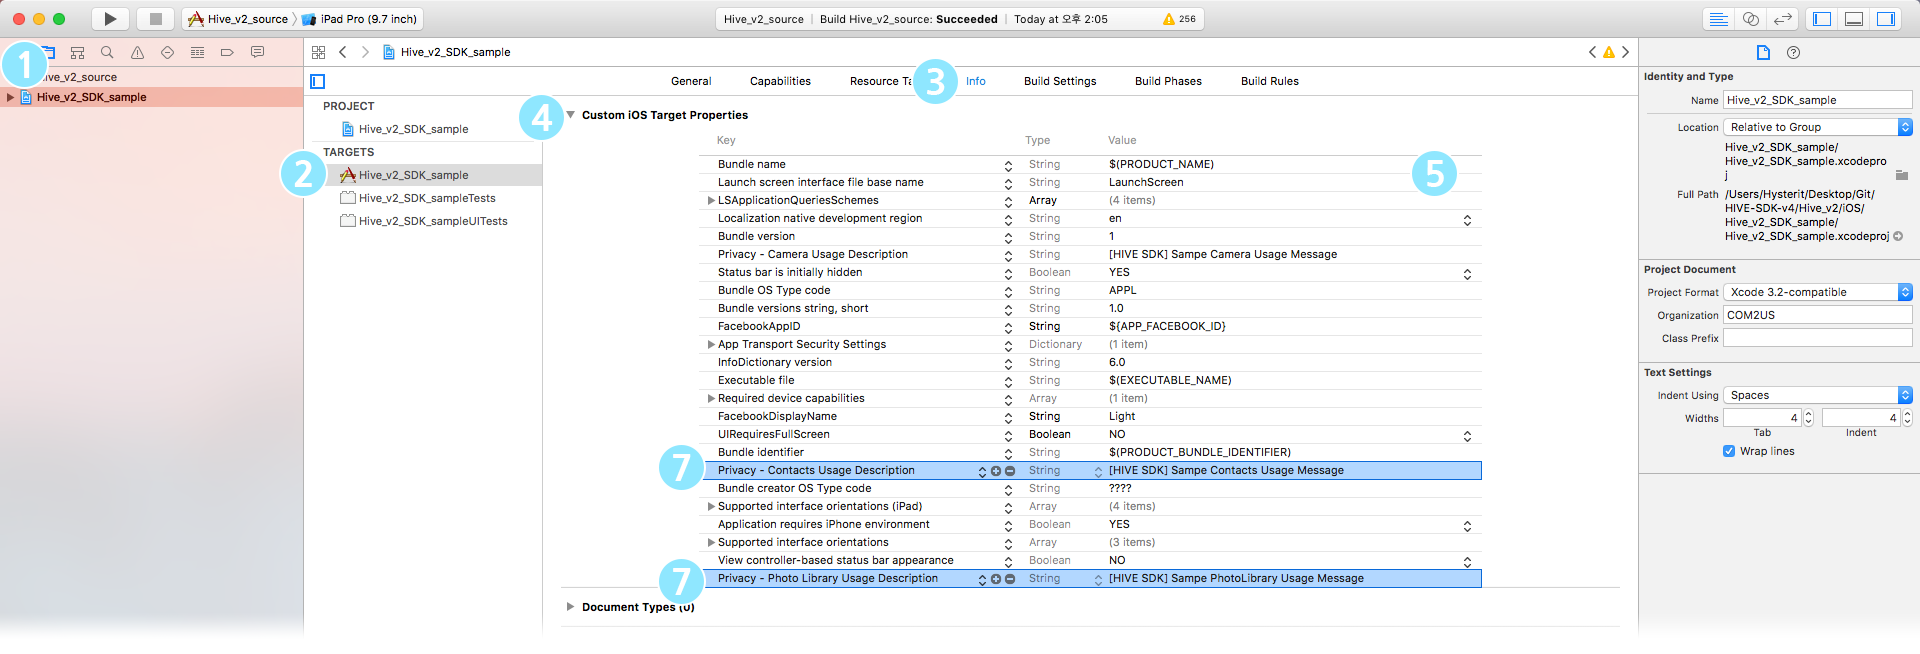
After installing Hive SDK iOS, add keys to Info.plist to obtain access permissions for the camera, photo library, and tracking.
- Select your project in the project navigator of the Xcode project window.
- Select your game app from the TARGETS list.
- Click on the Info tab.
- Click on the Custom iOS Target Properties section in the Info tab.
- Right-click on the Custom iOS Target Properties list.
- Click on the Add Row menu.
- Enter NSCameraUsageDescription in the Key field and add the value specified in the multilingual settings file > Base.Iproj folder > InfoPlist.strings in the Value field.
- Repeat steps 6-7 for the NSPhotoLibraryUsageDescription and NSUserTrackingUsageDescription keys.

When setting access permissions, keep the following in mind:
- Write a message requesting permission from users as specified in the multilingual settings file. If you do not enter a permission request popup message, additional explanation guidance for user access permission in use will be omitted, and your game app may be rejected during game app review.
- The corresponding values for the NSPhotoLibraryUsageDescription, NSCameraUsageDescription, and NSUserTrackingUsageDescription keys must inform the user of the purpose of permission use and can only be used if the user allows it, in accordance with Apple's legal requirement guidelines. The multilingual settings file provides popup phrases for each language to inform the user about the purpose of the request and allow use when photo library, camera, and tracking permissions are required.
- If you apply the updated Permission.strings file, you must also change the corresponding file. Otherwise, your game app may be rejected during the App Store upload phase.
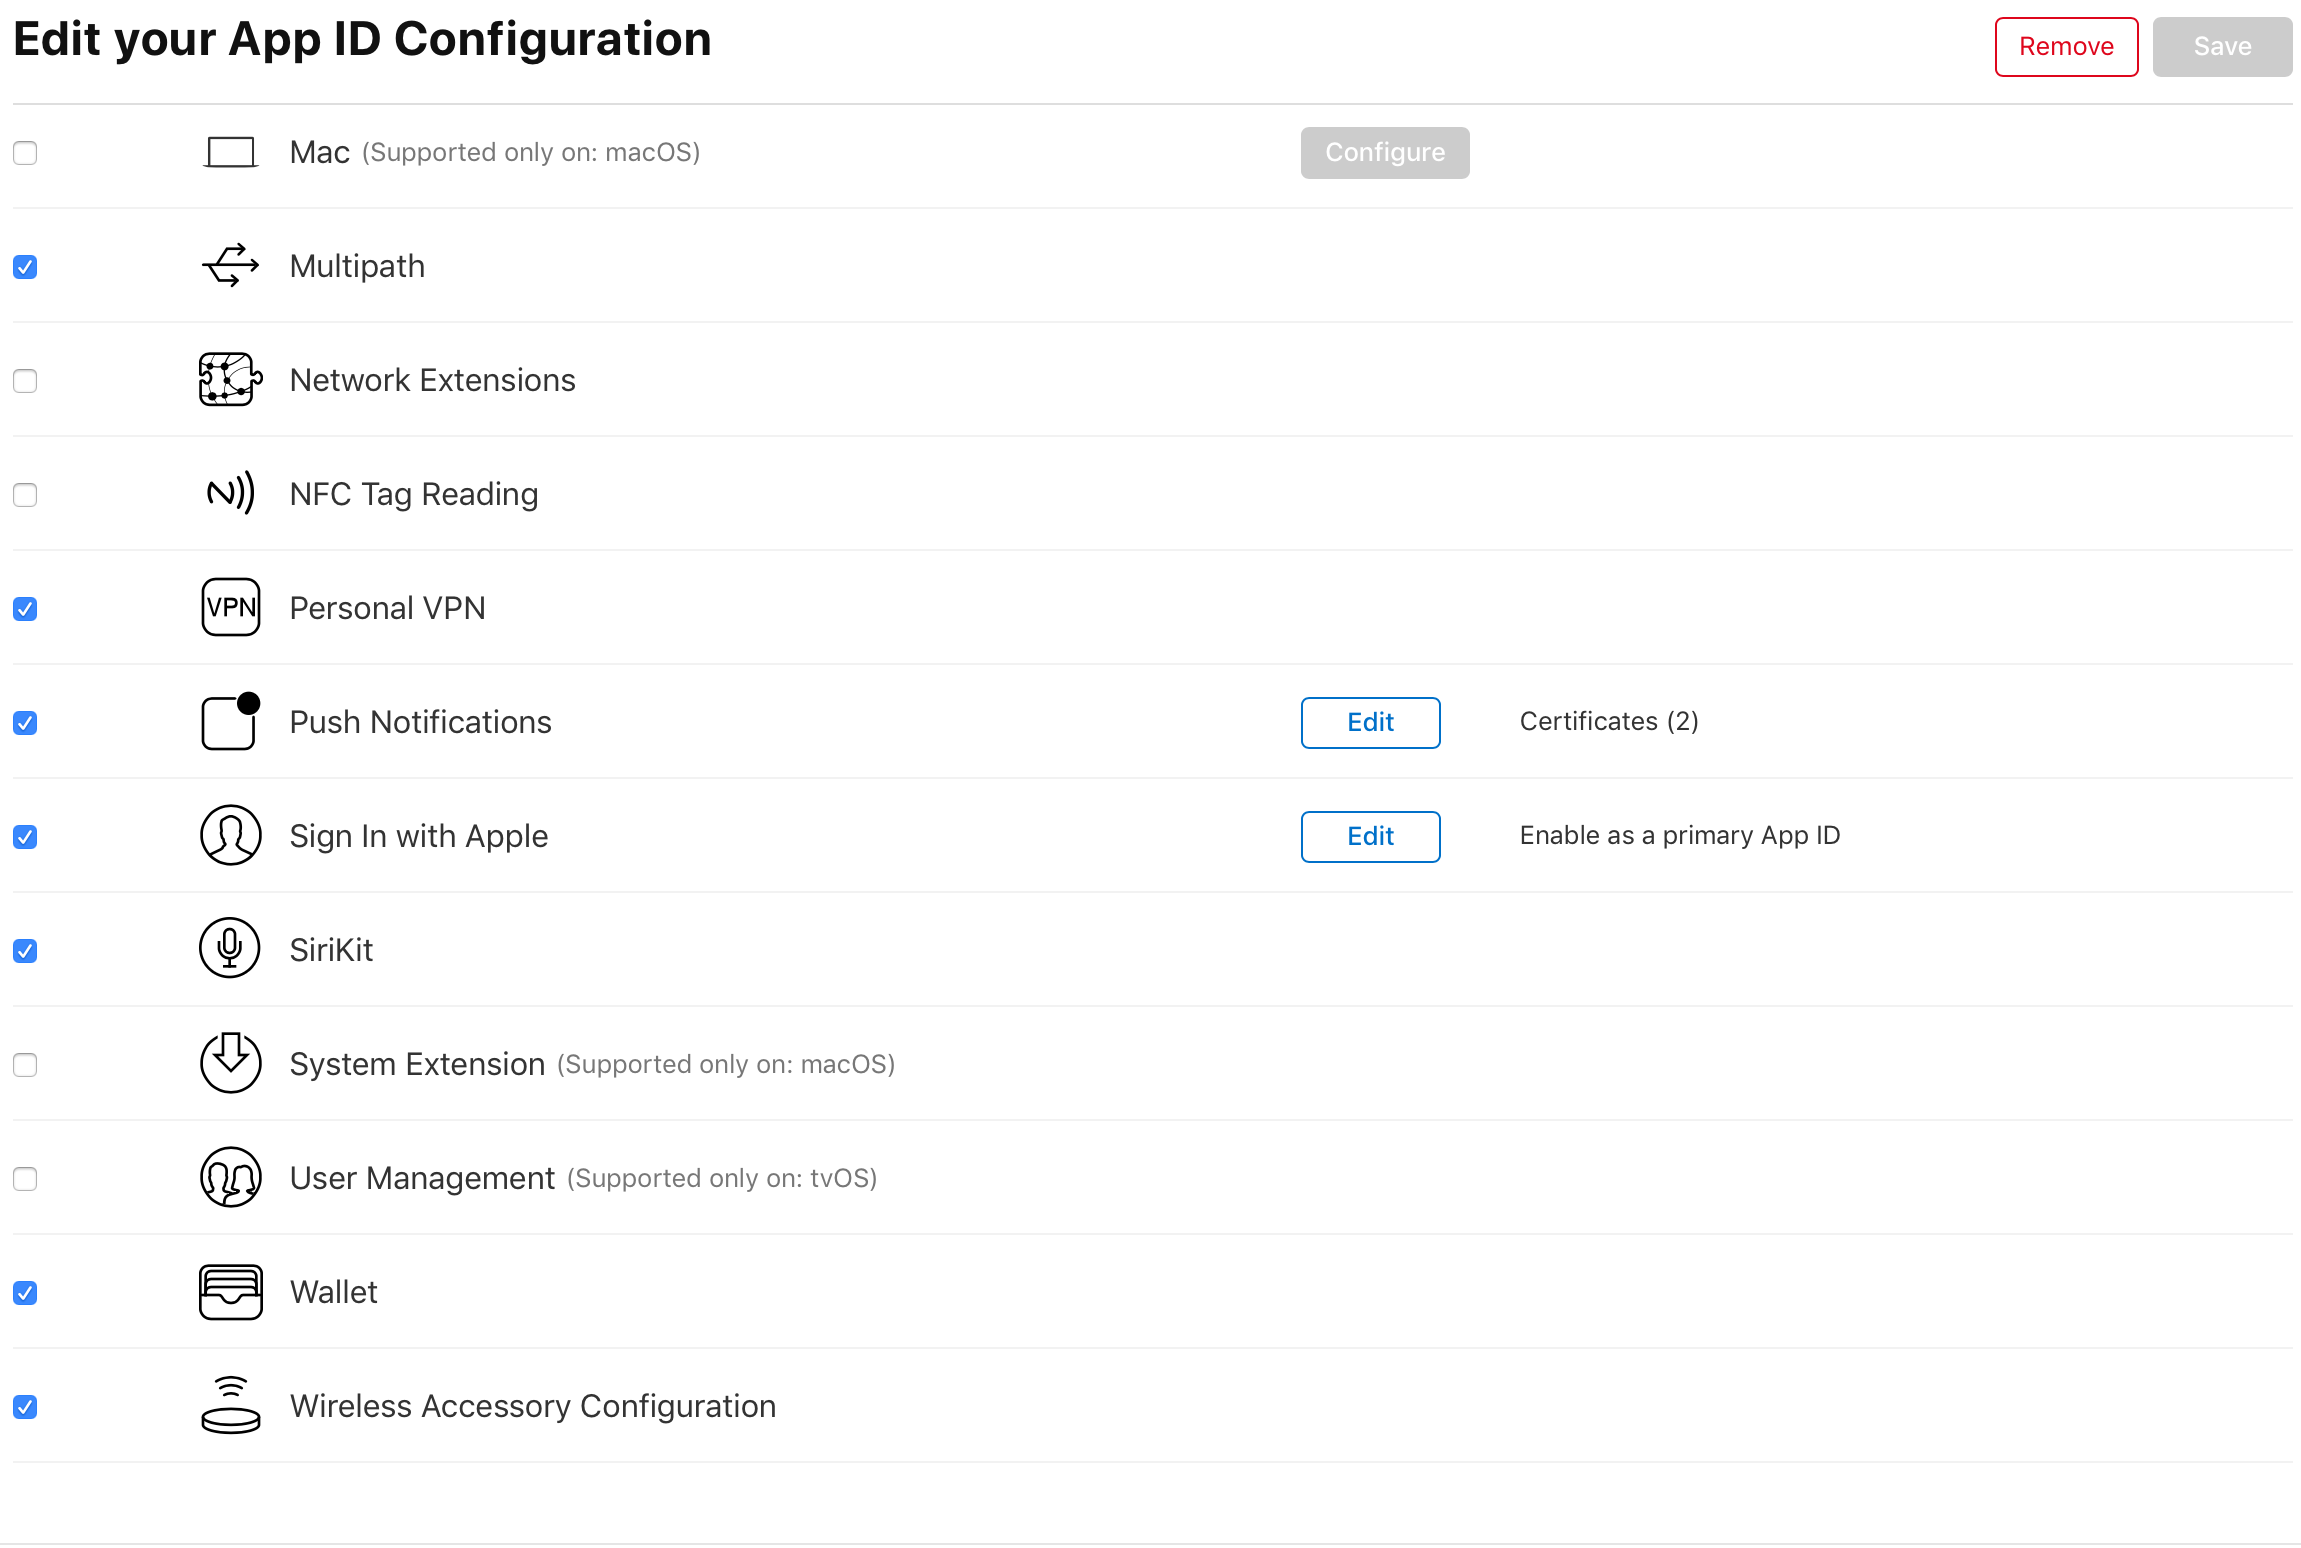
If the Sign In with Apple option does not appear in the Capability list due to permissions or other issues, activate the Sign In with Apple item in the Apple Developer console. After the updated provisioning is applied, repeat steps 4-6 to add the IdP. 
Warning
After implementing the Sign In with Apple feature, be sure to also add it to the IdP connection status information.
Applying HIVEAppDelegate
This is the configuration to launch the game app with user engagement, game app links, push notifications, etc. In the application:didFinishLaunchingWithOptions: API of the AppDelegate.m file, call the HIVEAppDelegate's application:didFinishLaunchingWithOptions: API.
API Reference: didFinishLaunchingWithOptions
import HIVEService

@UIApplicationMain
class AppDelegate: UIResponder, UIApplicationDelegate {

    func application(_ application: UIApplication, didFinishLaunchingWithOptions launchOptions: [UIApplication.LaunchOptionsKey: Any]?) -> Bool {
        return HIVEAppDelegate.application(application, didFinishLaunchingWithOptions: launchOptions)
    }
}
API Reference: didFinishLaunchingWithOptions
#import <HIVEService/HIVEService-Swift.h>

@interface AppDelegate ()
@end

@implementation AppDelegate

- (BOOL)application:(UIApplication *)application didFinishLaunchingWithOptions:(NSDictionary *)launchOptions {
        return [HIVEAppDelegate application:application didFinishLaunchingWithOptions:launchOptions];
  }

@end
Setting up keychain (optional)
If your game app uses the KeyChain-GroupSharing feature, you need to set up KeyChain Groups after installing Hive SDK iOS. If you do not use KeyChain-GroupSharing, no additional configuration is required. Hive SDK iOS uses KeyChain.
The first name must be the same as the AppId. 
Warning
If you are already using the KeyChain-GroupShare feature, do not delete or change the first name. Deleting or changing it will prevent access to the existing configuration data stored in the game app, resulting in a reset state similar to data deletion.