Preparation
Check out the complete steps to create a community.
1. Create Project
Community can be created only when the game is registered in the App Center. Please check the App Center guide for game registration. If you are registering a new game, it may take some time due to console caching.
Menu: App Center > Manage Project> Manage Project 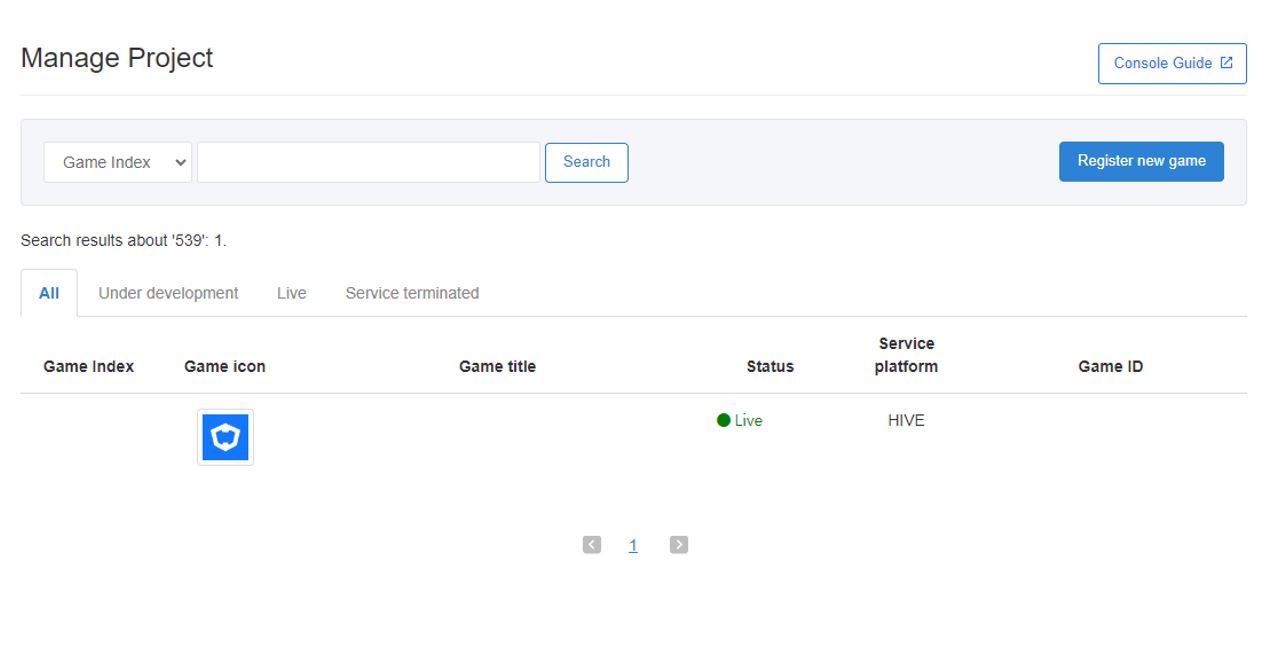
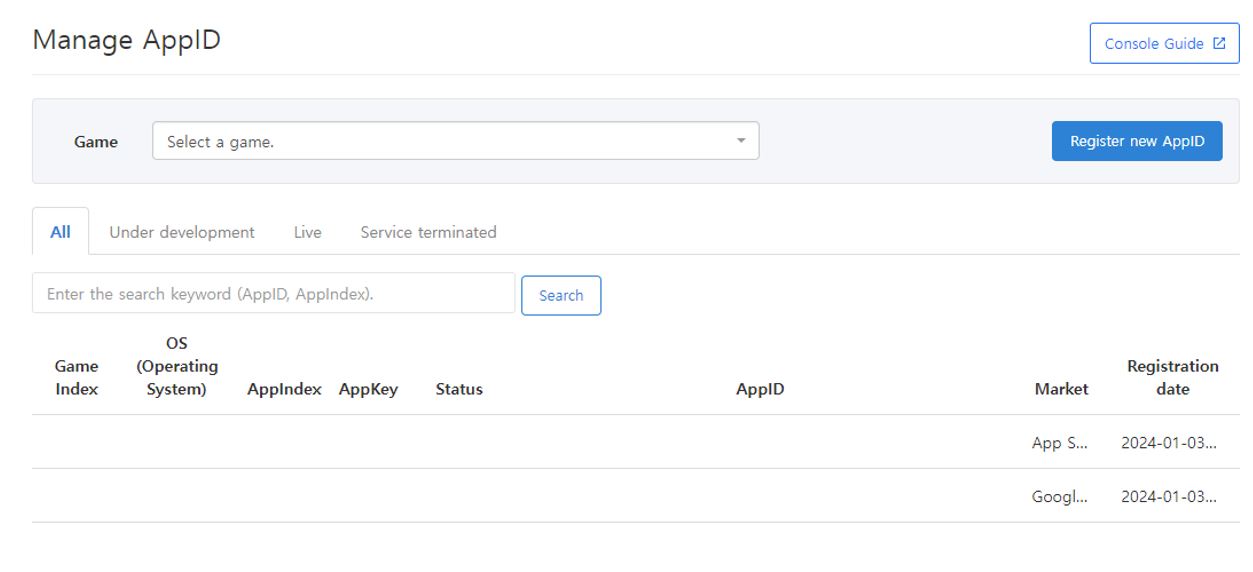
2. Create Community AppID
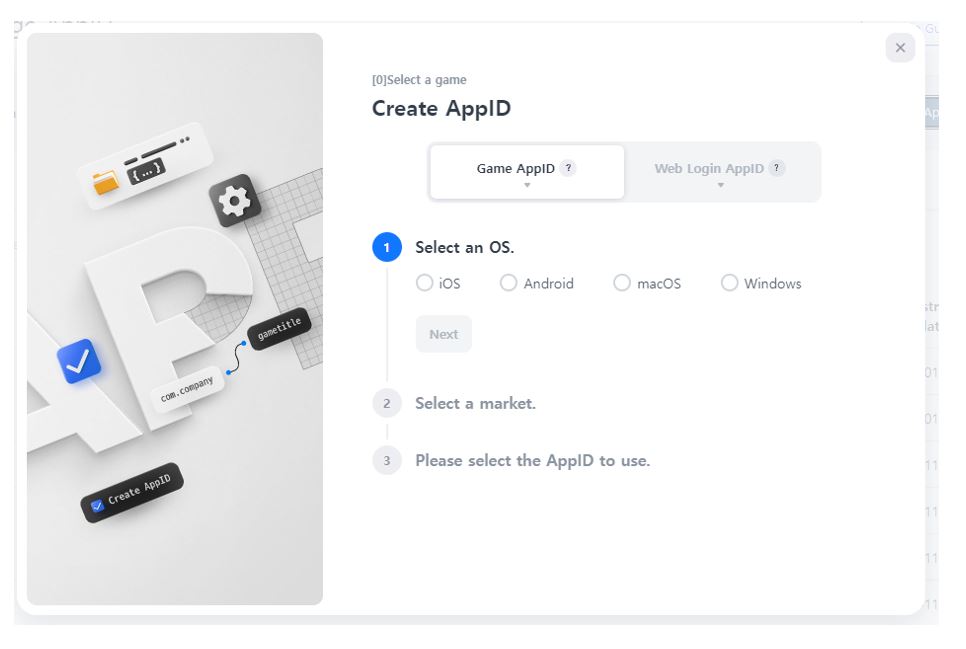
The community and web store are provided not only on the PC and mobile web, but also in the form of a web view within the game. AppID issuance is required to pass community and web store information to the SDK.
- You need to create a web login AppID for the game you want to use.
- Even if you are only creating a web store, please select Community as the purpose.
- A community or web store is created by linking to the initially created community app ID.
- Menu: App Center > App ID Management > [Register New App ID] button
3. Set Web Login
Automatic login is possible when accessing a community or web store in-game, but web login is required in a PC or mobile web environment.
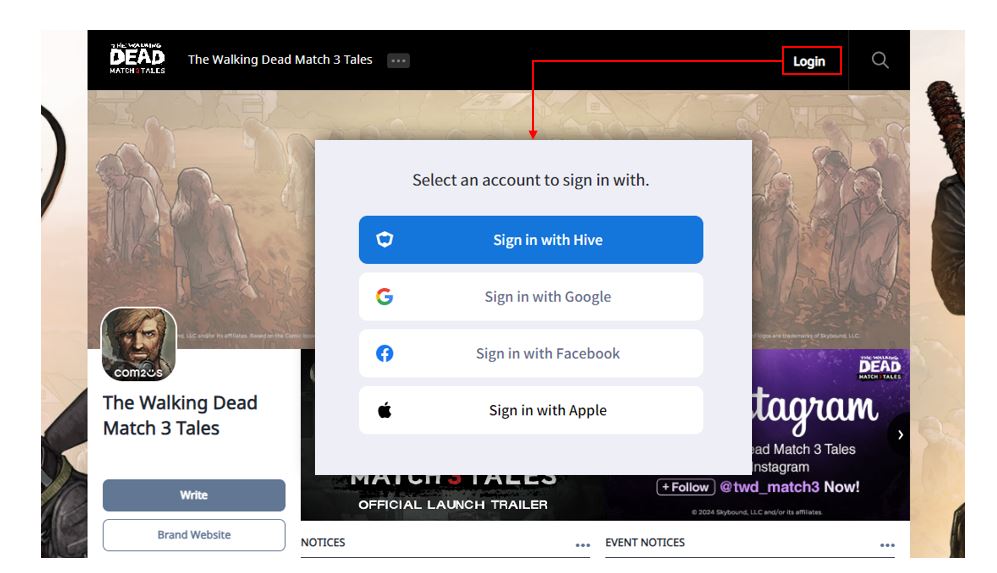
IdP Types Provided by Web Login
- Membership
- Apple (Different from Apple Game Center)
Note
- Membership does not require separate settings, but for Google/Facebook/Apple, pre-registration is required for the key values provided by each service.
- The login IDP information to be used also needs to be registered in the App Center.
Redirect URI

Menu: Authentication > Authentication Environment Settings > Sign-in Settings
- Please enter the URI below for web login operation.
- Please enter the keyword set in the site settings menu.
- If you want to test in a sandbox, enter https://sandbox-.
- Community
- Web Shop
Warning
If the correct address is not entered in the Web Login Action Settings > Redirect URI, a 2012 error may occur.
Community Operation Checklist
If you are creating a community for the first time, please check the checklist items. The community may only work properly if you meet the following conditions.
Web Login Terms and Conditions
Menu: Common Management > Main Screen > Settings by Language tab > Terms of Service(Use when signing up for membership in the community)
- Please register the terms of service and privacy policy to be displayed at the membership registration stage.
- You can register terms and conditions through the provisioning menu, or use a separate page that has already been created.
- If the URL is wrong, user may not be able to sign up for community membership or log in.
Service Status
- The settings are located in the Community and Web Shop menus respectively.
- When first created, the page is automatically set to display the 'Check Page' page.
- When you are ready to open the service, please change the status to 'Normal'.