Product Management
Specify the products and their order to be displayed in the web shop, and configure product information such as product names and images.
➡️ Console Path: Community & Web Shop > Web Shop > Product Management
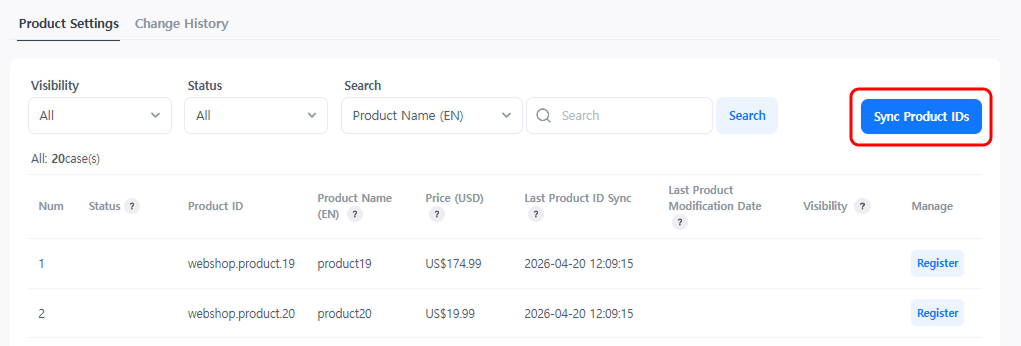
Sync Product Information
Import the product list registered in the billing server to the web shop. Once synchronization is complete, the Product ID, Product Name (EN), and Price (USD) will be automatically registered. After that, set the product order or detailed information.
How to configure:
- Click the [Sync Product ID] button.
- Check the notice and click [OK].
- Once synchronization is complete, the product list will be displayed.
Note
If the product name or price is changed in the billing console, manually click the [Sync Product ID] button to update to the latest information.
Save Product Order
Products in the web shop page are displayed in the order they are registered in the console product list. Change the display order by dragging and dropping, then click the [Save Order] button. 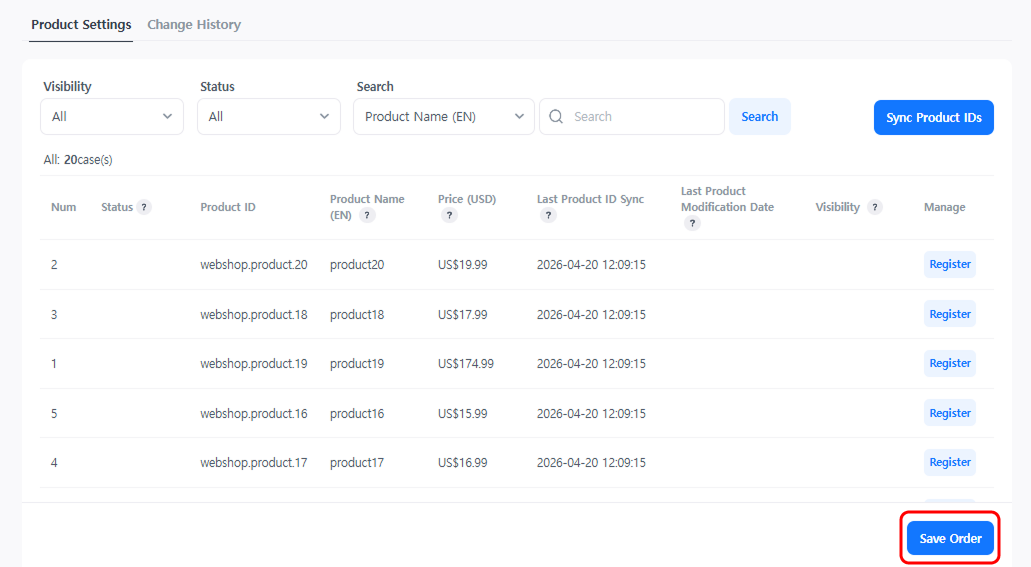
Register and Edit Products
Click the [Register] or [Edit] button in the product list to enter product display settings and detailed information.
Product Information
Configure necessary information for product display, such as product images, badges, and sales periods shown in the web shop. 
- Product Badge Settings: Set badges per product to highlight them.

- Sales Period Settings: Select 'Limited Sale' and specify the sales start and end dates. An end countdown will be automatically displayed on the user's screen starting 3 days before the sales end date.
- Batch Register Product Images: Upload the same image for all languages, or register multiple images separated by language code at once.
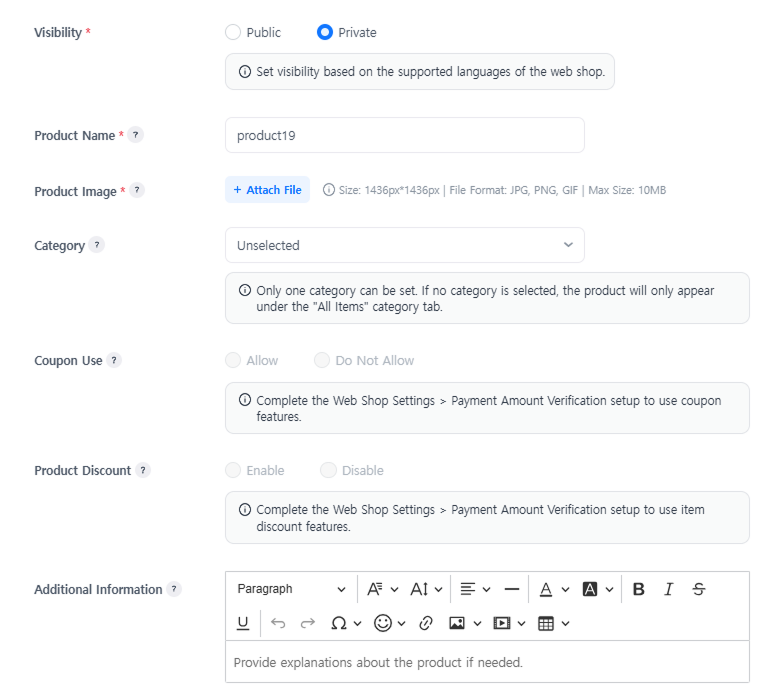
- Visibility: Set the visibility of the product for the corresponding language.
- Product Name: Set the product name for each language.
- Product Image: Set the product image for each language.
- Category: Set the category of the product. If not selected, it will only be displayed in the 'All Products' category.
- Additional Information: Enter additional information about the product.
Next Steps
After completing all settings for the web shop, change the Service Status to 'Live' in Hive Console > Community & Web Shop > Web Shop Settings > Service Settings. The web shop service will be launched in the live environment.
Check out additional features that are helpful for operating the Web Shop.
- Price Discount: Adjust the Web Shop payment amount using product discounts and coupons. Learn more
- Purchase Limit: Restrict product purchases in the Web Shop by setting purchase quantity and level conditions. Learn more
- Currency Restriction: Restrict allowable payment currencies and users to prevent bypass payments between countries. Learn more
- Repurchase After Refund: Prevent abnormal refunds by requiring users with a refund history to complete a repayment. Learn more