Community creation
You can automatically generate a community by registering the community URL in the App Center.
If pre-settings are not configured in the App Center, please follow the steps below in the specified order.
(If it is a custom community, please refer to this guide)
| Menu Location | Content | Note |
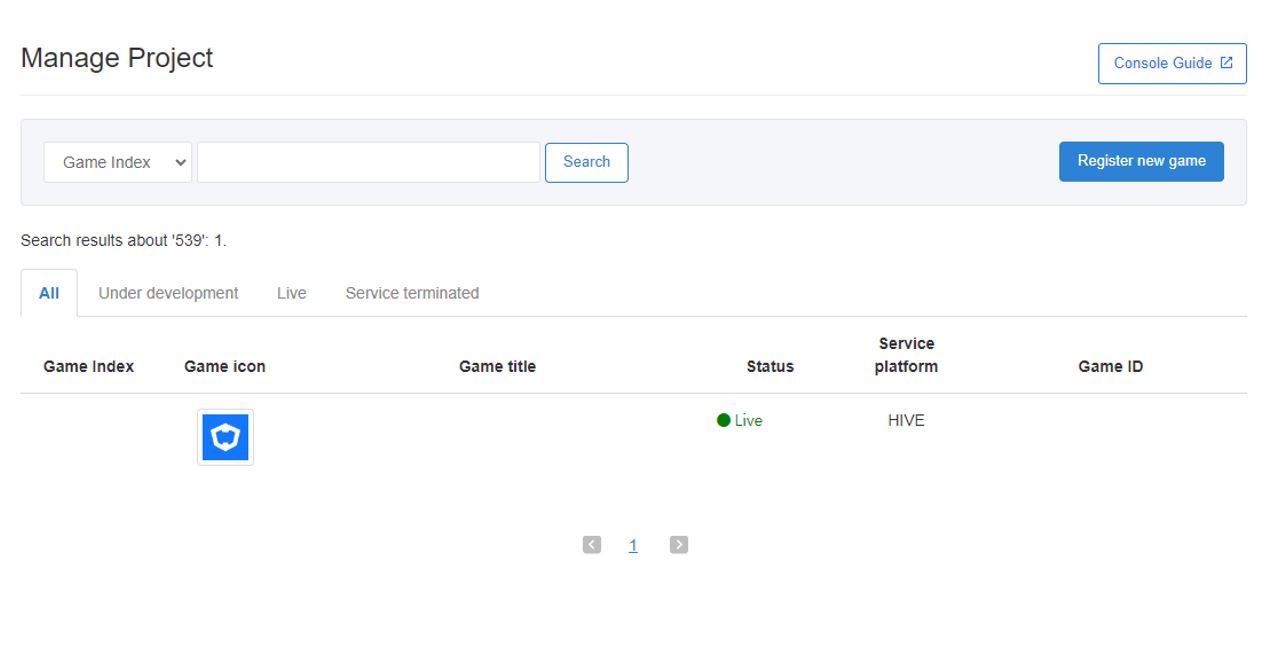
| App Center > Manage Project |
| |
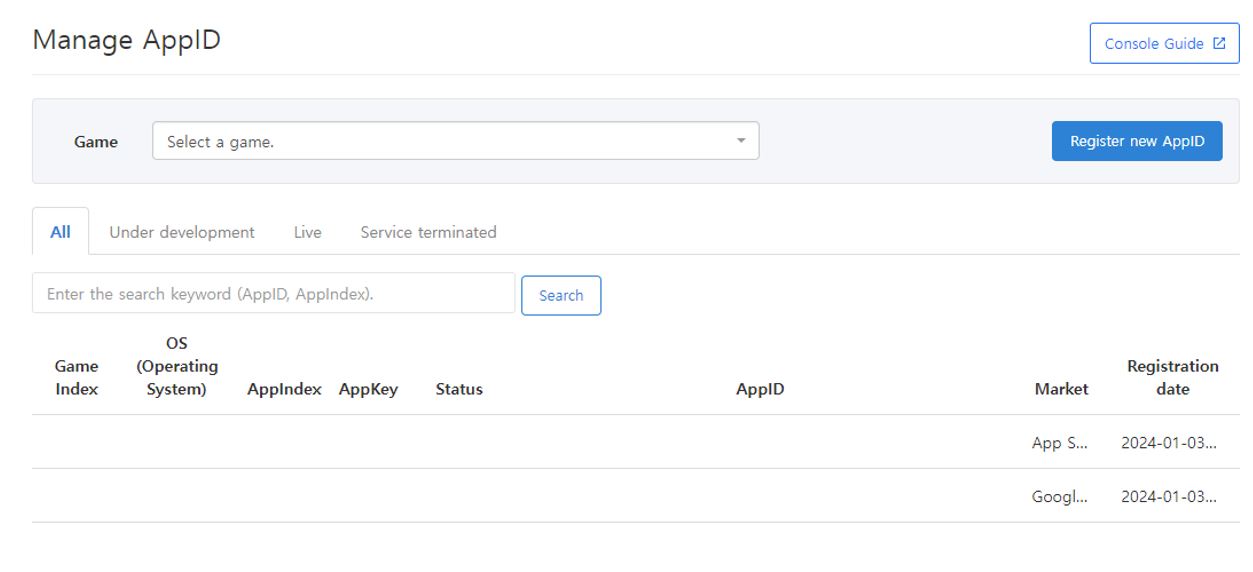
| App Center > Manage Project > Select the game > AppID tab |
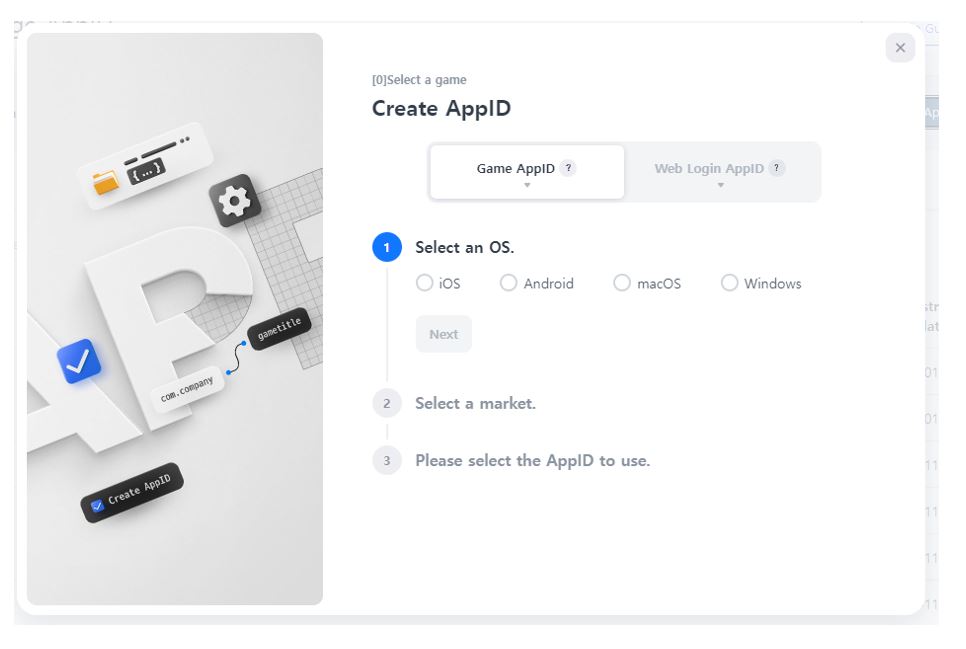
|
|
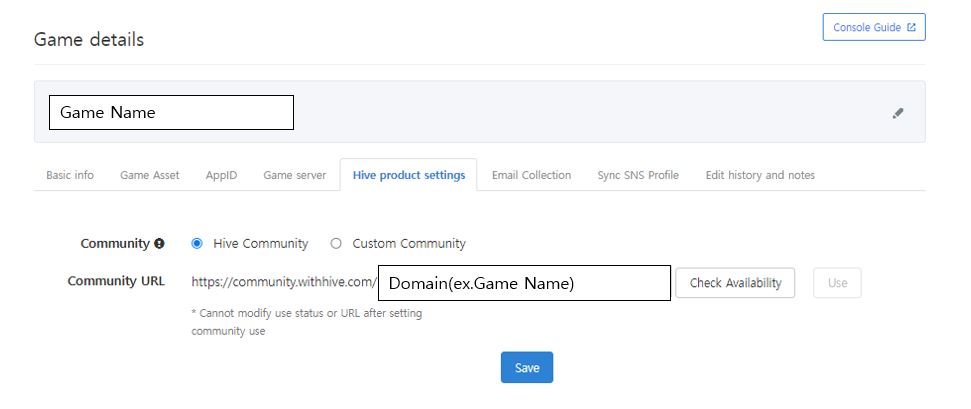
| App Center > Manage Project > Select the game> Hive Product Settings tab |
|
|
1. Create Project
Community can be created only when the game is registered in the App Center. Please check the App Center guide for game registration.
If you are registering a new game, it may take some time due to console caching.
- Menu to check the registered game: App Center > Manage Project> Manage Project
2. Create App ID for Community
The community is provided not only on PC/mobile web browsers but also in the game in a web view form. Therefore, App ID issuance is required in SDK to convey community usage information.
- Community App ID must be created under the game where you want to use the community.
- Menu location
- App Center > App ID Management > [Register New App ID] button
- Please select the purpose as "Community" in the web login App ID.
3. Create URL for Community
You can create a community URL (domain) to use in the App Center.
- Menu location
- App Center > Game Management > Game List > (Select the corresponding game) > Hive Product Settings
Community Domain
- Main domain cannot be changed.
- Subdomains corresponding to 2Depth categories (main menu) or 3Depth menu can be changed in the console.
- Domain example: https://community.withhive.com/(keyword)
Keyword(Game name to be used)
- _ (underscore) not allowed (e.g., game_com2us –> not allowed)
- Within 14 characters
- Not duplicable
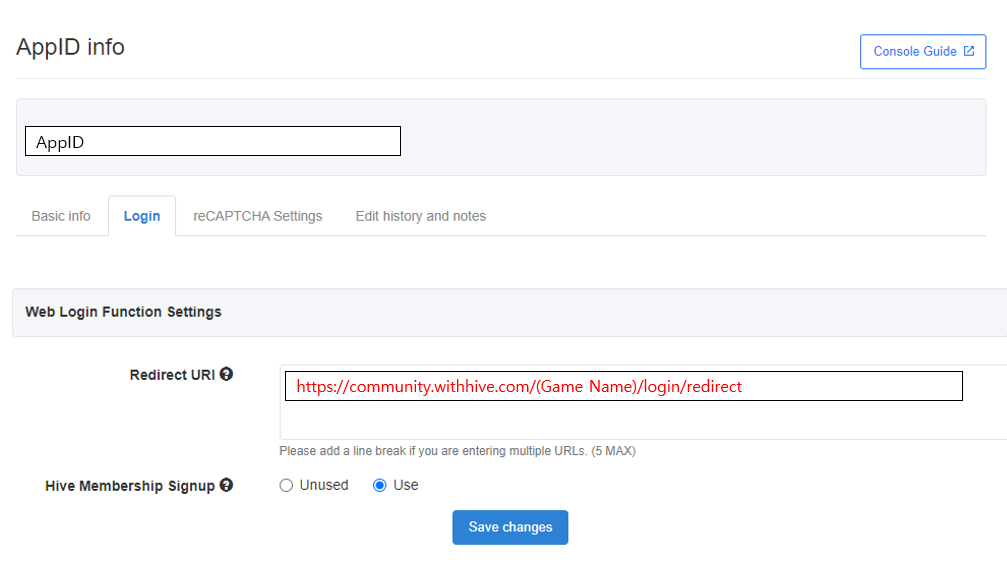
- Use the same game name as the login > web login > Redirect URI
Custom Community Settings
If you are using a custom community, please select the custom community and register the URL.
It will be automatically registered in the console whitelist for calling the community in the game as a web view.
(If it is not registered in the whitelist, it may work normally on the web, but errors may occur in the web view.)
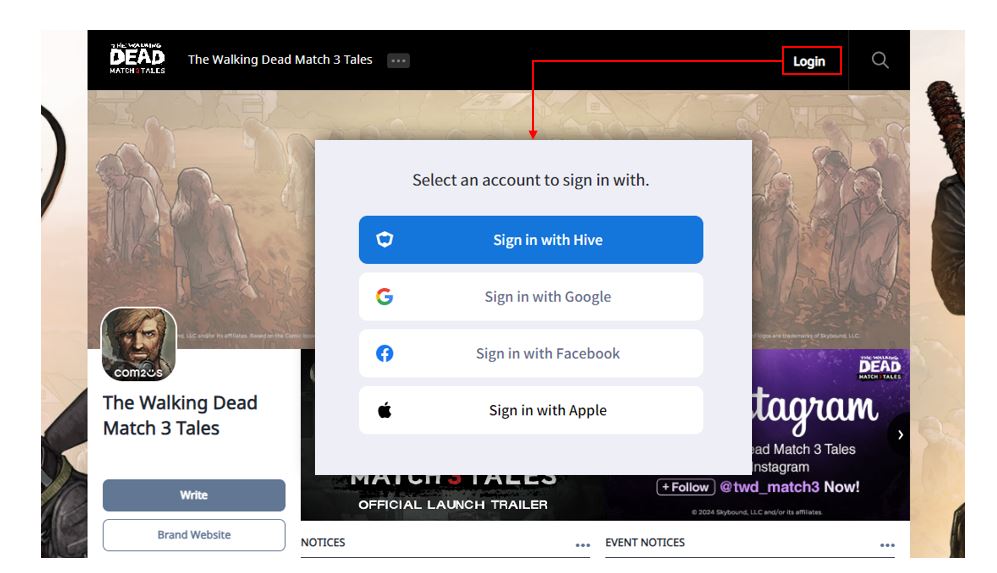
4. Set Web Login
When accessing the community in the game, automatic login is possible, but web login is required in the PC/mobile web environment.
IdP Types Provided by Web Login
- Membership
- Apple (Different from Apple Game Center)
Note
- Membership does not require separate settings, but for Google/Facebook/Apple, pre-registration is required for the key values provided by each service.
- The login IDP information to be used also needs to be registered in the App Center.
Warning
If the correct address is not entered in the Web Login Action Settings > Redirect URI, a 2012 error may occur.
Community Operation Checklist
If you are creating a community for the first time, please check the checklist items.
The community may only work properly if you meet the following conditions.
If there are missing items, it is recommended to proceed in the order below.
| Menu | Content | Note |
| UI Management > Menu Management |
|
|
| UI Management > Main Management > Select the game > Common tab > Set the representative language |
| |
| UI Management > Main Management > Select the game> Language tab > Terms and Conditions |
|
|
| UI Management > Main Management > Select the game> Common tab > Service Page |
|
|
