Community usage
After creating a community, you can check community usage information.
If you want to use a community on a sandbox server, please create it manually in the commercial server menu.
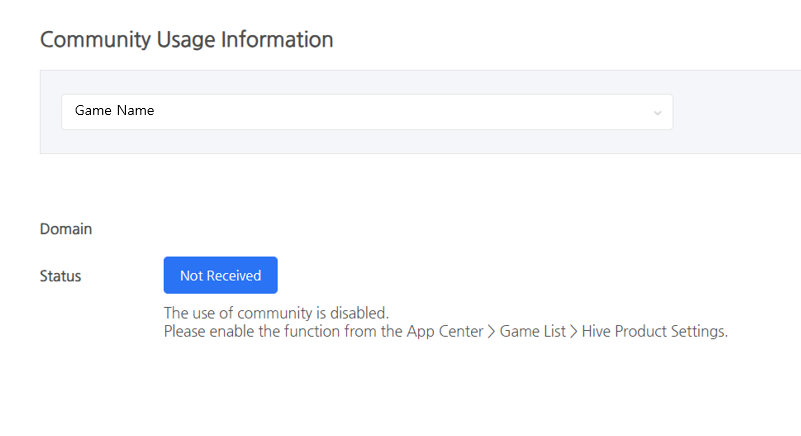
Case 1: Not Received
- If you selected a game that did not request community creation
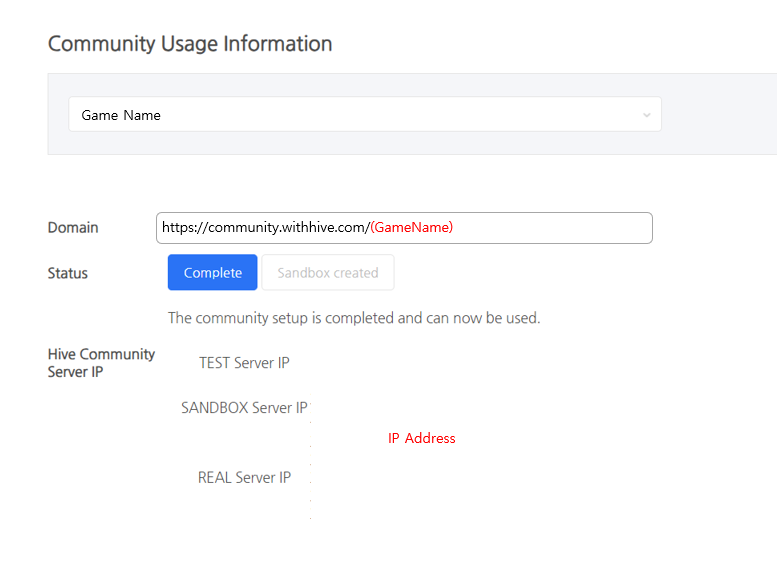
Case 3: Community created (commercial + sandbox)
- Community creation is complete and URL can be checked
- The progress changes to complete and you can create it on the sandbox server.
- When you click the Sandbox creation button, a sandbox URL is created.
- https://sandbox-community.withhive.com(GameName)
- IP Address exposured to use Community Server
Note
- Even if the community is created successfully, the initial service page status is set to ‘Maintenance.’
- Complete the initial menu creation and image asset settings in UI Management > Menu Management > Main Screen in the console and change the service page to ‘Normal.’

