Security key
Issue the security key used to identify clients and validate requests, and replace it when needed. Only one set of security keys is issued per project, and all App IDs in the project use it in common.
➡️ Console path: Project Settings > Security Key
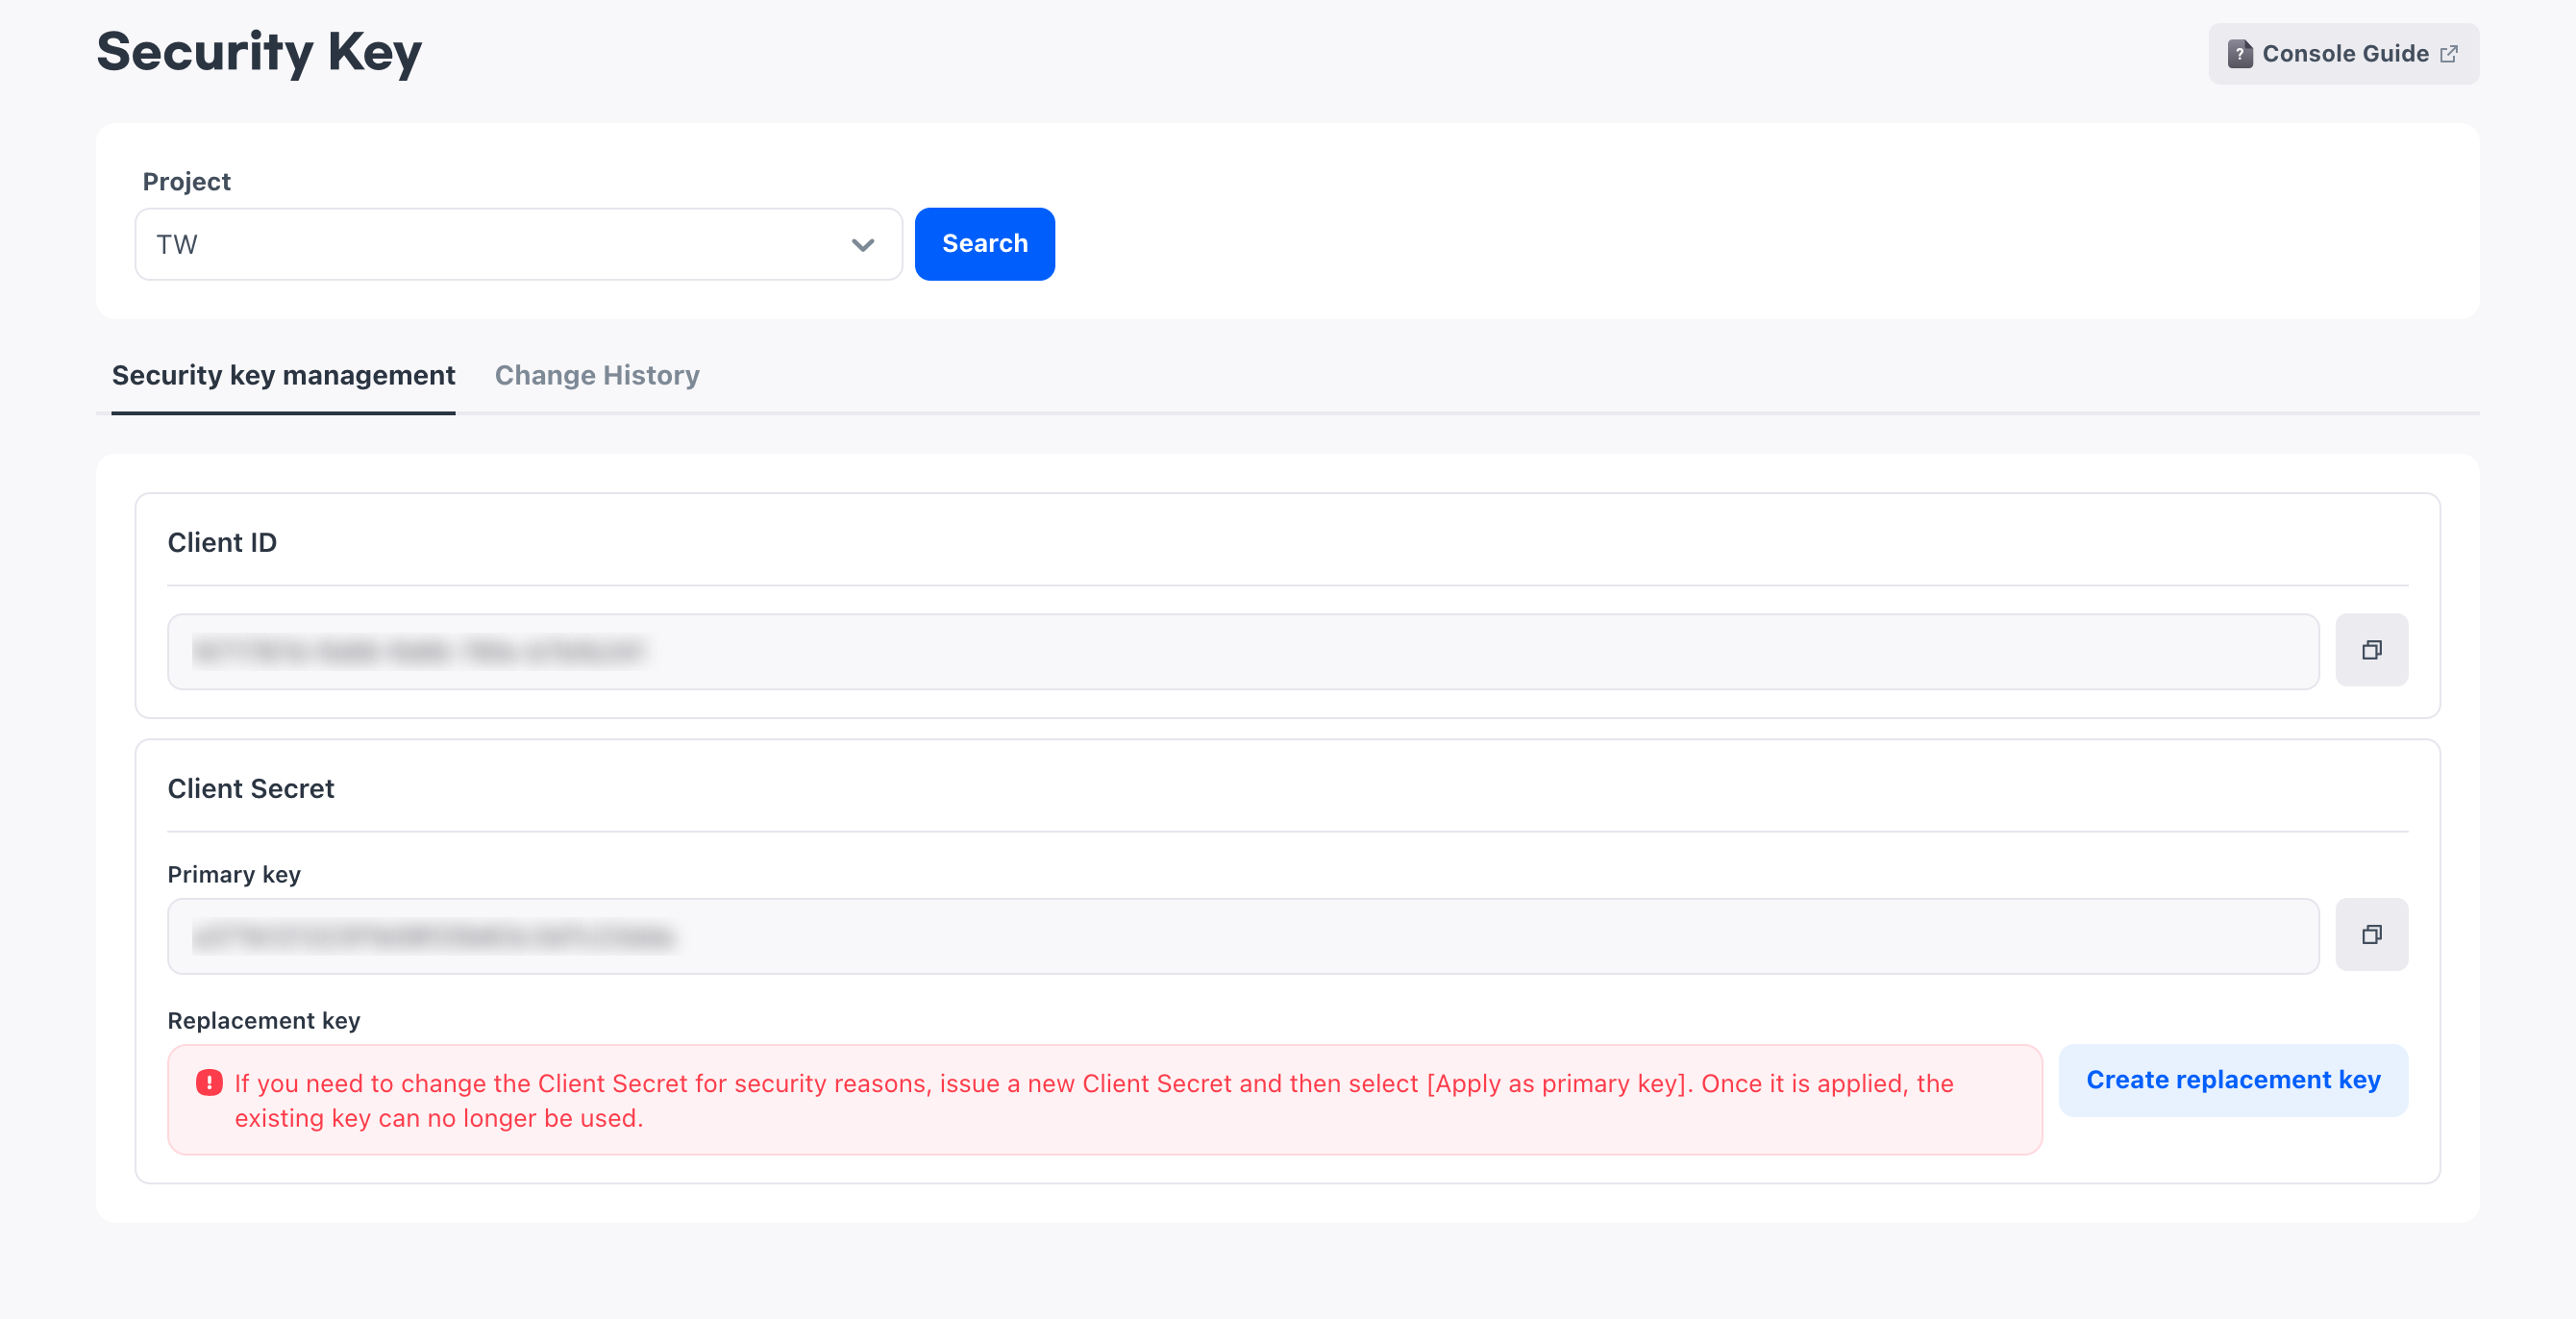
A security key belongs to a project. If you have not created a project yet, complete the project setup first.
Security key structure
A security key consists of two values: Client ID and Client Secret.
The Client ID is a public identifier that you pass when you request login and token issuance. It is used to identify which client sent the request and as the basis for deciding whether to issue a token and process the login. It is unique within the project and cannot be changed after issuance.
The Client Secret is a secret key that the app server uses to prove its identity to the Hive Axyl server. The app server uses this value to get the access token needed to call the Hive Axyl Server API, and passes the issued token in the API request header. For how to issue the token, see Issue a token. Because this value must not be exposed externally, it is displayed masked even in the console.
Issue a security key
When you select Create security key, the Client ID and Client Secret are created together. The Client Secret created at this point is called the primary key.
Copy each issued value to the clipboard with the copy button of each item, and apply it to your service. For the Client Secret, the copy button appears only after you unmask it. The Client ID is displayed as is, without masking.
How to set up:
- Select Create security key. The Client ID and the Client Secret primary key are created and displayed on the screen.
- Copy the value with the Client ID copy button and apply it to your service.
- Unmask the Client Secret, then copy the value with the copy button and apply it to your service.
Replace the Client Secret
When you need to change the Client Secret for security reasons, you do not delete the key in use and create a new one. Instead, you issue an additional replacement key and apply it as the primary key. You can prepare the new key while the service keeps working with the existing key, so authentication is not interrupted.
Up to two Client Secrets can exist for one Client ID.
- Primary key: The Client Secret actually used for project authentication
- Replacement key: An additional Client Secret issued to replace the primary key
Create replacement key appears only when the only issued Client Secret is the primary key. It appears again after you apply the replacement key as the primary key, so repeat the same steps whenever you need a replacement.
Warning
Once you apply the replacement key as the primary key, you can no longer use the previous primary key. Apply it only after you are ready to put the new key into your service.
How to set up:
- Select Create replacement key. An additional replacement key is issued and displayed on the screen.
- Copy the replacement key and get ready to put it into your service.
- Select Apply as primary key to the right of the replacement key.
- In the confirmation dialog, select Apply.
- Unmask the Client Secret that became the primary key, copy the value, and apply it to your service.
Next steps
You have completed the project settings. Now configure the console settings for the features you will use, such as Payment or Mailbox.