App ID
Create an App ID that connects the Hive Axyl service and your app client, and register the identifier of the app you registered in the store along with it. Every feature Hive Axyl provides works based on the App ID, so to run your app service, create an App ID first.
➡️ Console path: Project Settings > App ID
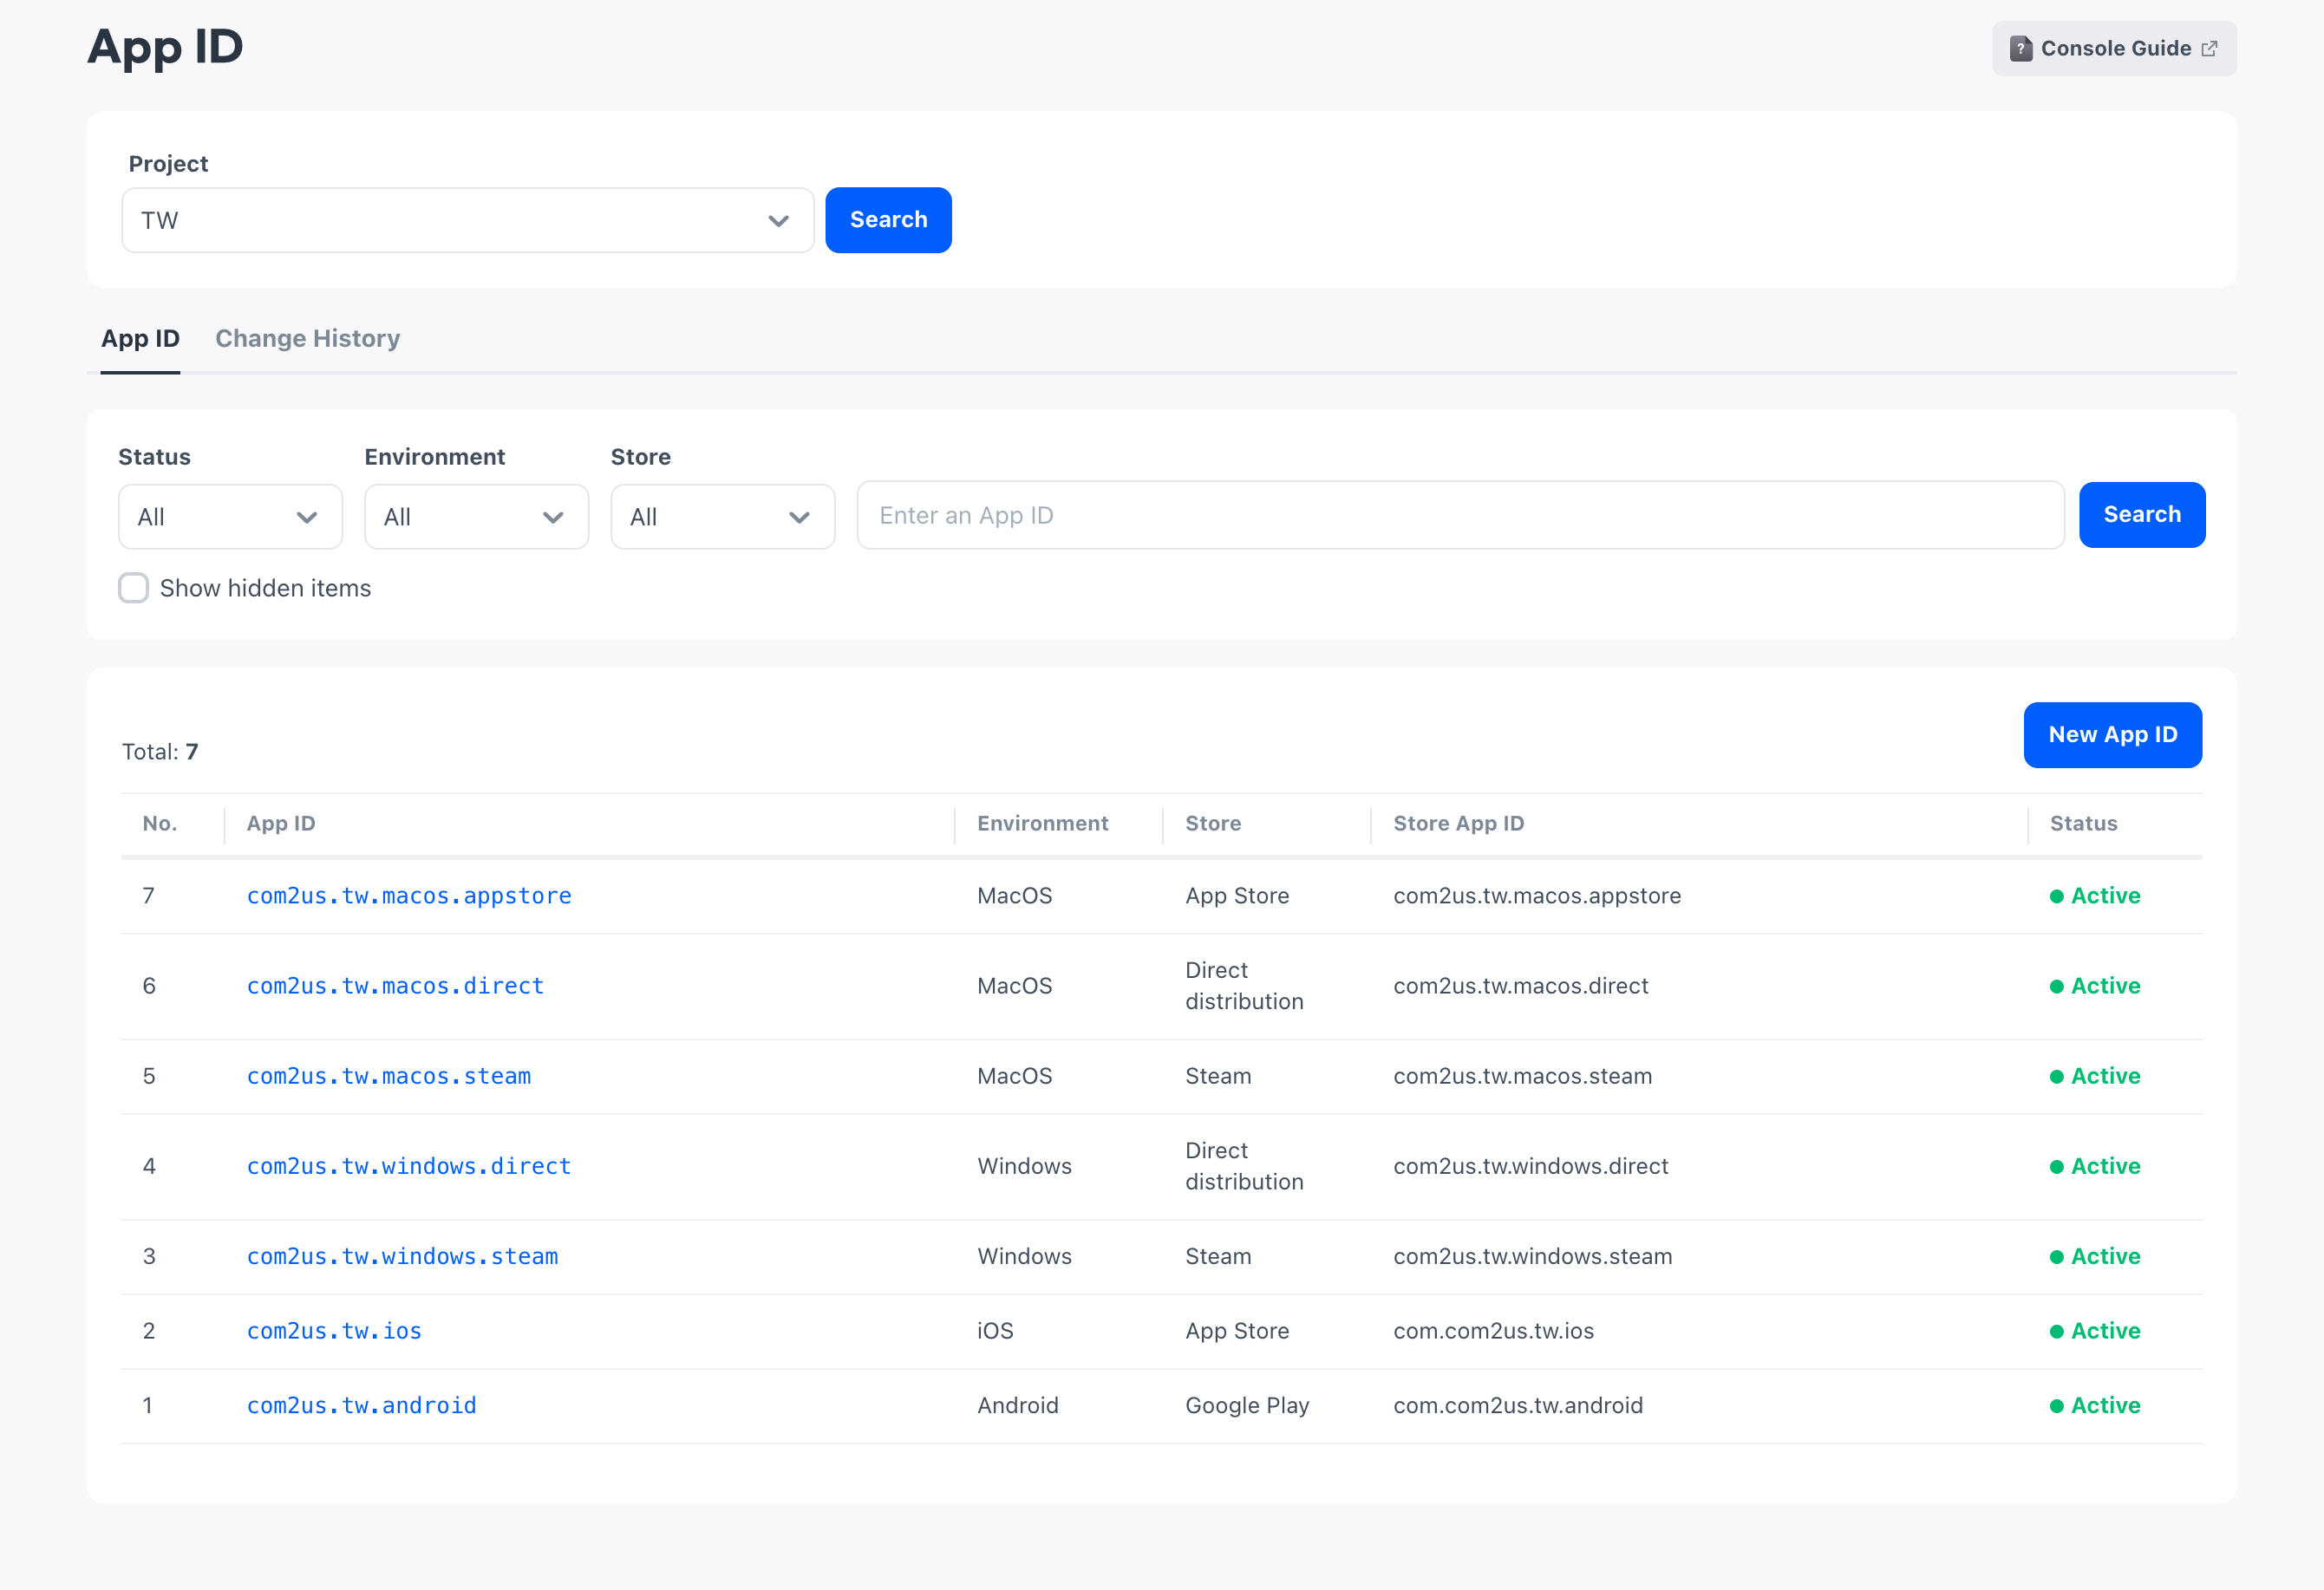
An App ID belongs to a project. If you have not created a project yet, create a project first.
Create an App ID
You create App IDs per combination of the runtime environment where the app runs and the store where you distribute the app. The runtime environment is the OS and device environment where the app runs, such as Android, iOS, Windows, or macOS, and the store is the channel that distributes the app to users.
Runtime environments and stores
The stores you can choose for each runtime environment are as follows.
- Android: Google Play
- iOS: App Store
- Windows: Steam, direct distribution
- macOS: App Store, Steam, direct distribution
If you distribute the app without going through a store, choose Direct distribution.
App IDs are created according to the combinations of runtime environments and stores you choose. One input field is displayed for each combination, and as many App IDs are created as there are combinations.
App ID value
The Project ID of the selected project is automatically added in front of the App ID, followed by a period. The value after it is prefilled in the environment.store.number format, so you can use it as is or change it to a different value.
You can create multiple App IDs with the same combination of runtime environment and store. However, you cannot change the App ID, runtime environment, or store after creation, so check the combination before you create it.
Creation procedure
How to set up:
- Select New App ID.
- In Environment, choose the environment where the app runs.
- In Store, choose the distribution channel for each runtime environment.
- Check the prefilled App ID for each combination, and enter a value directly if you want to use a different one.
- Select Create.
The App IDs you create appear in the list right away with the Active status.
Register the store App ID
Store App ID is the value that identifies the app you registered in the store. When you register the actual identifier used to release your app in the store paired with the Hive Axyl App ID, it is used to identify the store in login, payment, and push notifications. Service-specific settings are managed separately in each feature menu.
The values you enter for each runtime environment or store are as follows.
- Android: Package Name
- iOS, macOS: Bundle ID
- Steam: Steam App ID
You enter the Store App ID on the edit screen after you create the App ID. The App ID is created even if you leave it empty. Register it when the identifier to use for store integration is ready. If you use Steam login, also enter the same Steam App ID separately in the Steam login credentials.
How to set up:
- In the list, select the App ID to enter the value for.
- In Store App ID, enter the identifier you registered in the store.
- Select Save. Your changes appear in the list right away.
Change the App ID status
You manage the status and visibility of App IDs the same way as for projects. Select an App ID in the list to open the edit screen and change values there. You cannot change the status on the list screen.
You cannot delete an App ID you created. Manage App IDs you no longer use by changing their status. The meaning of each status is as follows.
- Active: An App ID in operation. Included in the targets you can choose when you configure other features
- Ended: An App ID whose operation has ended. Excluded from configuration targets
If you change the status of an App ID's project to Ended, the status of all App IDs in that project also changes to Ended. If you resume operating the project, check the status of the App IDs you will keep using here.
To hide an App ID changed to Ended from the list, set it as hidden. You can set an App ID as hidden only in the Ended status. To see hidden items again, select Show hidden items at the top of the list.
How to set up:
- In the list, select an App ID to open the edit screen.
- Choose Active or Ended as the status.
- If you chose Ended and want to hide it from the list, select Set as hidden.
- Select Save. Your changes appear in the list right away.
Next steps
After you create an App ID, issue the security key to use in common across the project.