Usage restriction
'Usage restriction' is the feature for restricting or releasing app use based on user accounts or IPs.
➡️ Console path: Account & Authentication > Usage Restriction
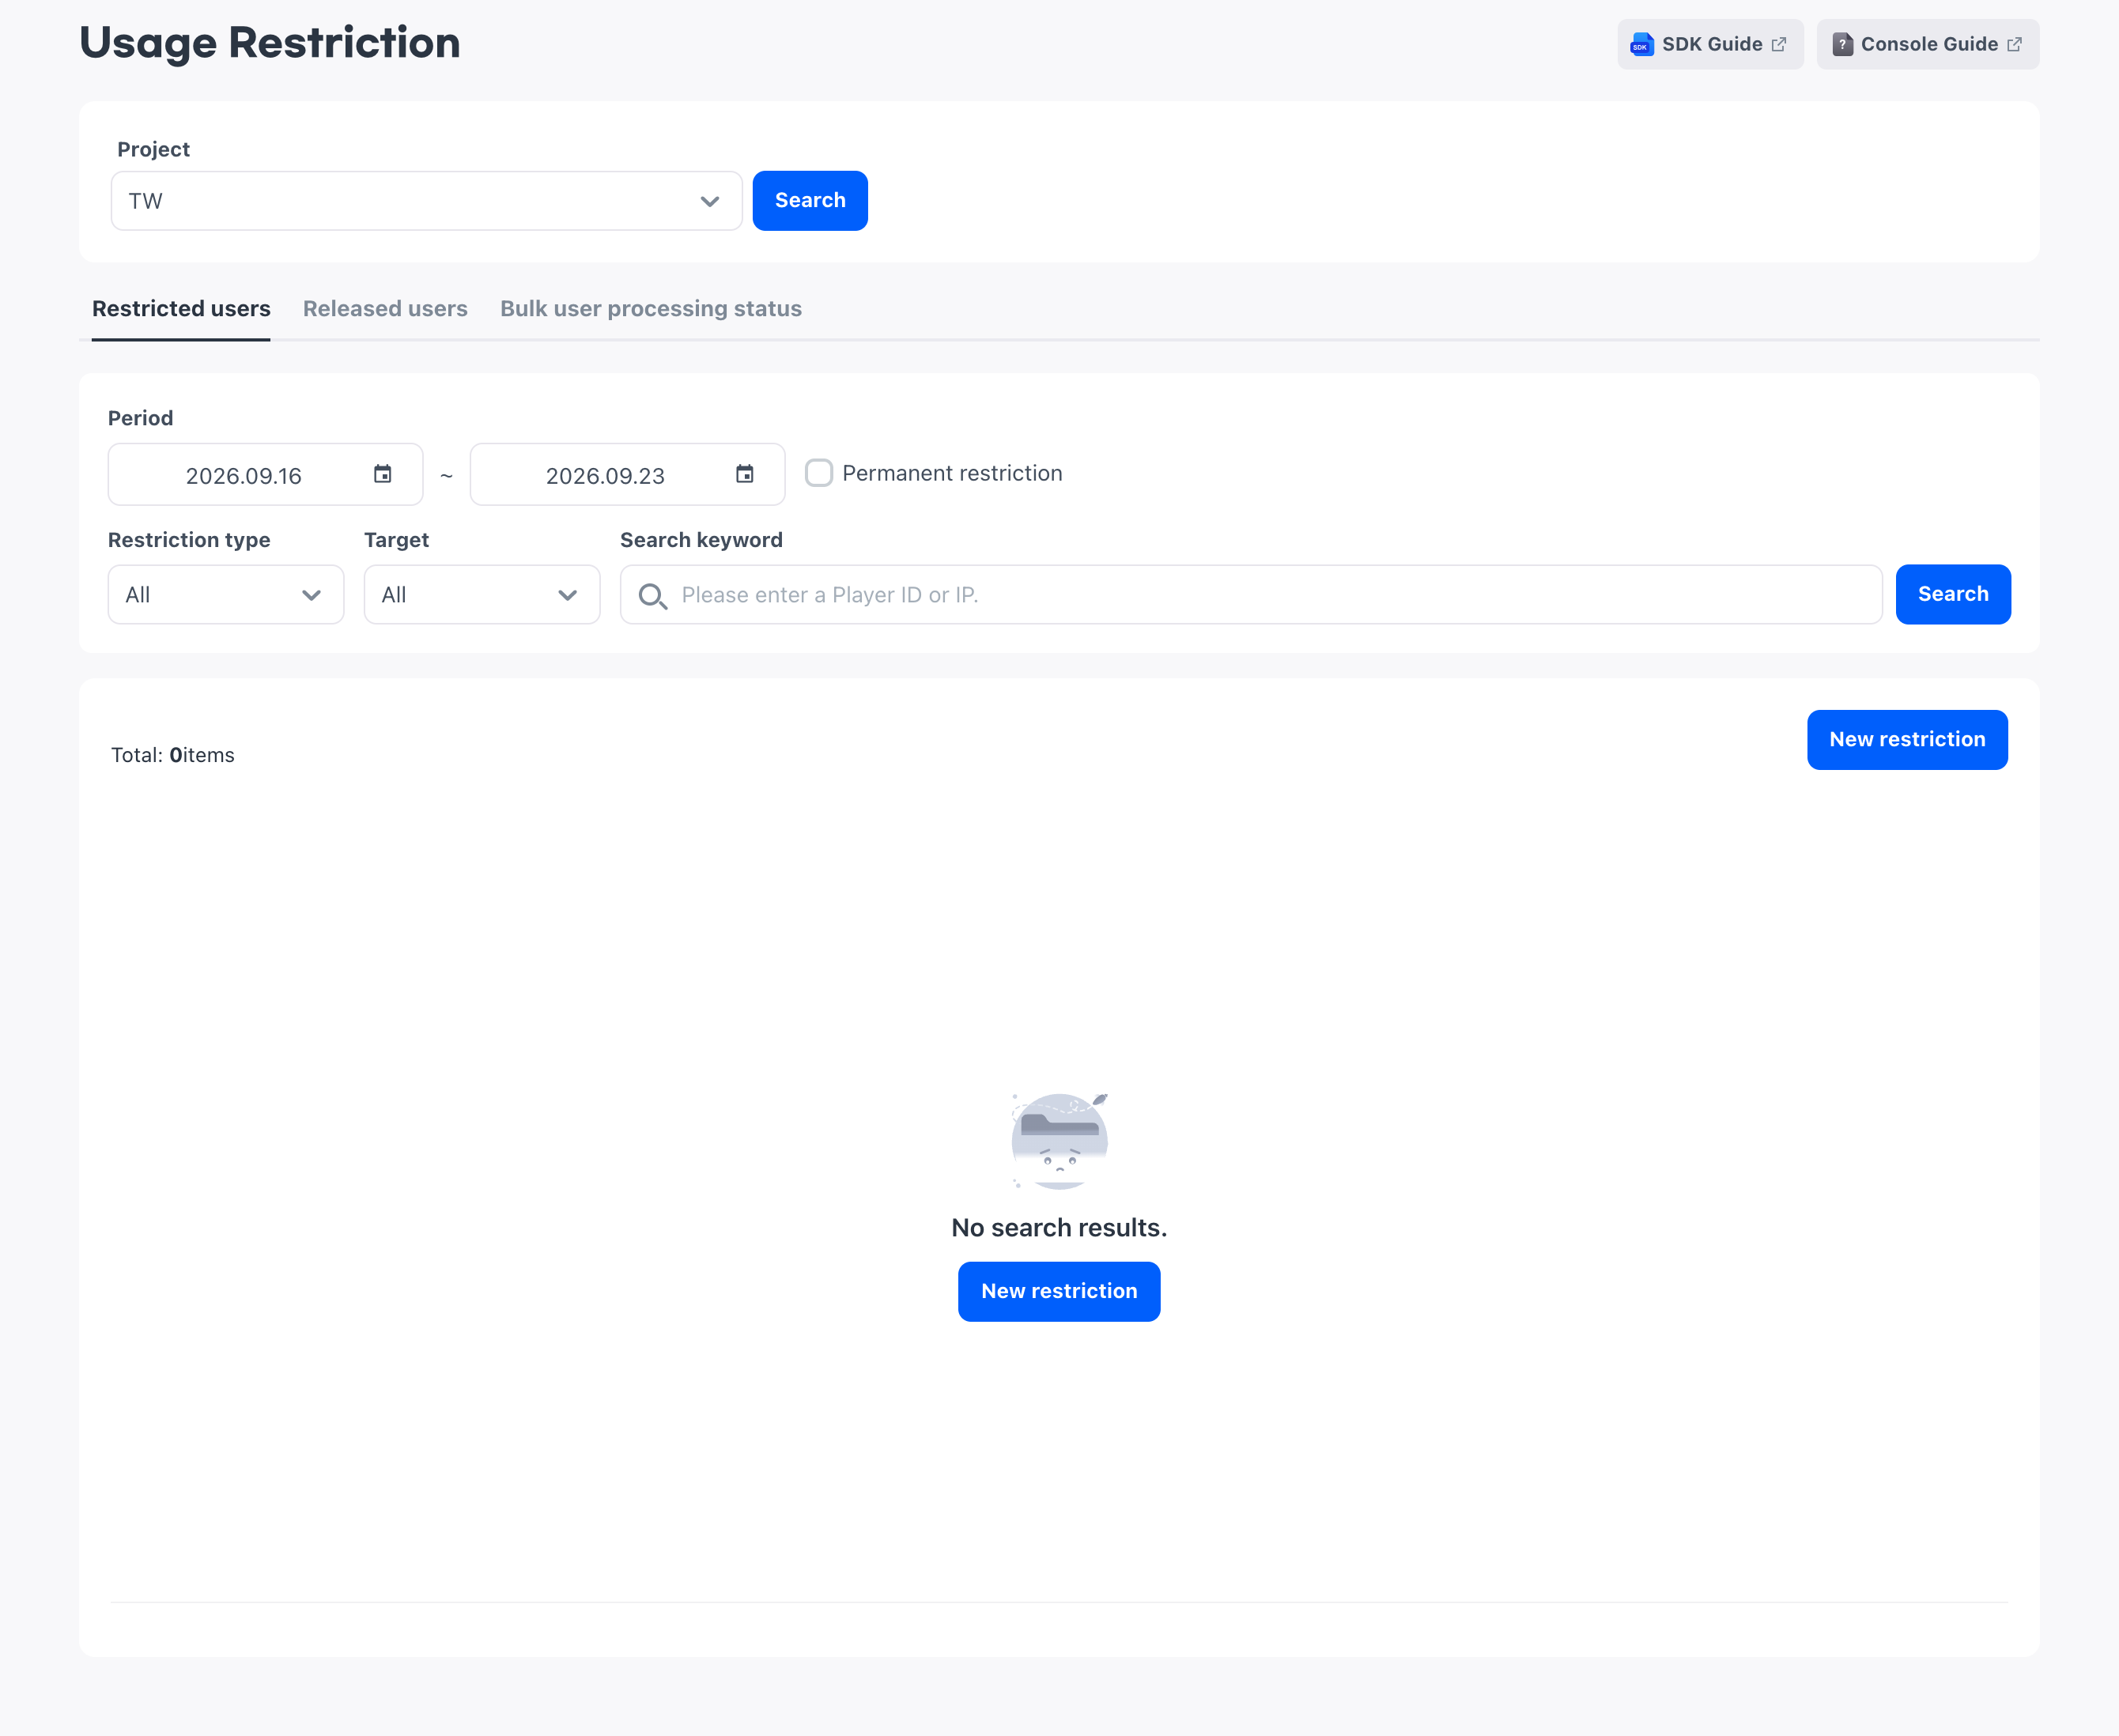
Restrictions are managed per project.
Check before use
Before you register restrictions, create restriction types. A restriction type stores the code that distinguishes the restriction, a management name, and the notice message to display to users.
You specify restriction targets by the Player ID that distinguishes user accounts or the IP the user accessed from.
Look up restricted users
The Restricted users tab is the default screen for checking targets that are currently restricted. When you search for the first time, the start date is set to 7 days before today, and the end date is set to today.
Period condition
A period search displays targets whose usage restriction start date or end date falls within the specified period. So even a target that is restricted throughout the search period does not appear in the results if its start date is before the search period and its end date is after the search period.
To check only permanent restrictions registered without an end time, select Permanent restriction. In this case, the period condition is not applied.
Target condition and search results
For the target condition, choose one of All, Player ID, and IP, and enter the target value to find next to it. If you choose a restriction type, only restrictions registered with that type are displayed.
The list is displayed with the most recent registration date first, and you can check the console account of the operator who processed the restriction in the ID column of the list. Select User info to check the target, restriction type, restriction period, and restriction reason on the details screen.
Register a new usage restriction
In New restriction, register a restriction by specifying the target, type, period, and restriction reason. You enter targets directly or upload them with a CSV file.
How to set up:
- Select New restriction.
- Choose Player ID or IP as the restriction target type.
- Enter the targets directly, or switch to Upload CSV file and upload a file.
- In Restriction type, choose the type to apply.
- Choose the restriction period.
- Enter the restriction reason. It is a required item, and because it is a value for operators to check, it is not displayed to users.
- Select Save.
Type and restriction period
Restriction type and the restriction period have values selected in advance. The default type is the type with the smallest code, and the default period is 7 days, so before you save, check that the two values are the type and period you intend.
For the restriction period, choose one of 1 day, 3 days, 7 days, 15 days, 30 days, 60 days, and 90 days, or choose Permanent restriction or Custom. If you choose a predefined period, the start date is set to the current time, and the end time is calculated by the chosen period. Permanent restriction registers the restriction without an end time, and Custom lets you specify the start date and time and the end date and time yourself.
Target input methods and processing timing
The number of targets you can register at a time and when they appear in the list differ depending on whether you enter the targets directly or upload them with a CSV file.
When you enter targets directly, separate them with commas, and enter up to 2,000 at a time. If you have more targets, upload them with a CSV file. CSV is a file format that stores data in rows and columns. In the CSV file for registering restrictions, enter one target per line without a column header, and upload up to 200,000 at a time.
Restrictions entered directly appear in the Restricted users list as soon as you save. Restrictions uploaded with a CSV file are only accepted and then processed sequentially, so you cannot find the targets in the list until processing finishes. When you save, you are taken to the Bulk user processing status tab, so check the processing status there.
If the targets you entered include Player IDs that do not exist, only those targets are excluded, and the restriction is applied to the rest. If a notice appears saying that some users could not be found, check in the Restricted users list that all the targets you meant to register are reflected.
Re-register restricted targets
If you register a target that is already restricted again, the existing restriction information is updated with the newly entered values. The type, period, and reason of the ongoing restriction also change, so check the targets you register again.
Edit and release registered restrictions
You edit or release a registered restriction on the details screen. You cannot change the target type or target value; you can edit only the restriction type, restriction period, and restriction reason.
If you choose the restriction period again, the previous period is not kept, and the new period is calculated from the time of the edit.
To release a restriction on the details screen, enter the Release reason and select Release. When you select Release, only the release reason and the restriction release are processed, and other edits you entered at the same time are not saved. To also change the type or period, first edit them with Save, and then release the restriction.
Check released users and release in bulk
On the Released users tab, you check released targets as read-only. The End date in the list shows the date and time the restriction was actually released instead of the originally scheduled end date. To check the release reason, select User info and view it on the details screen.
To release multiple targets at once, use Release restriction on this tab.
How to set up:
- Select Release restriction.
- Choose Player ID or IP as the type of target to release.
- Enter the targets directly or upload them with a CSV file.
- Enter the release reason.
- Select Release.
Release follows the same count limits and processing timing as registration. In the CSV file for release, enter Player ID or IP as the column header in the first row according to the target type, and enter one target per line below it.
You cannot release a target that has already been released. If some of the requested targets fail, a result window opens showing the number of successes and failures, along with the failed targets and the reasons for failure.
Check the bulk user processing status
On the Bulk user processing status tab, check the progress of restrictions and releases requested with CSV files. Items processed by direct input are applied immediately, so they do not remain on this tab.
Check the request date, completion date, whether it is a restriction or release, target type, processing status, number of requested items, and number of failures. The processing status is displayed as Pending, Processing, Completed, or Failed. If there are failed targets, download the failure list, check the values, and request again.