Restriction types
'Restriction types' is the feature for setting, for each project, the code that distinguishes restriction targets, a management name, and the notice message for users. You choose the types created here when you register usage restrictions, so the same notice message applies to the same operating policy.
➡️ Console path: Account & Authentication > Restriction types
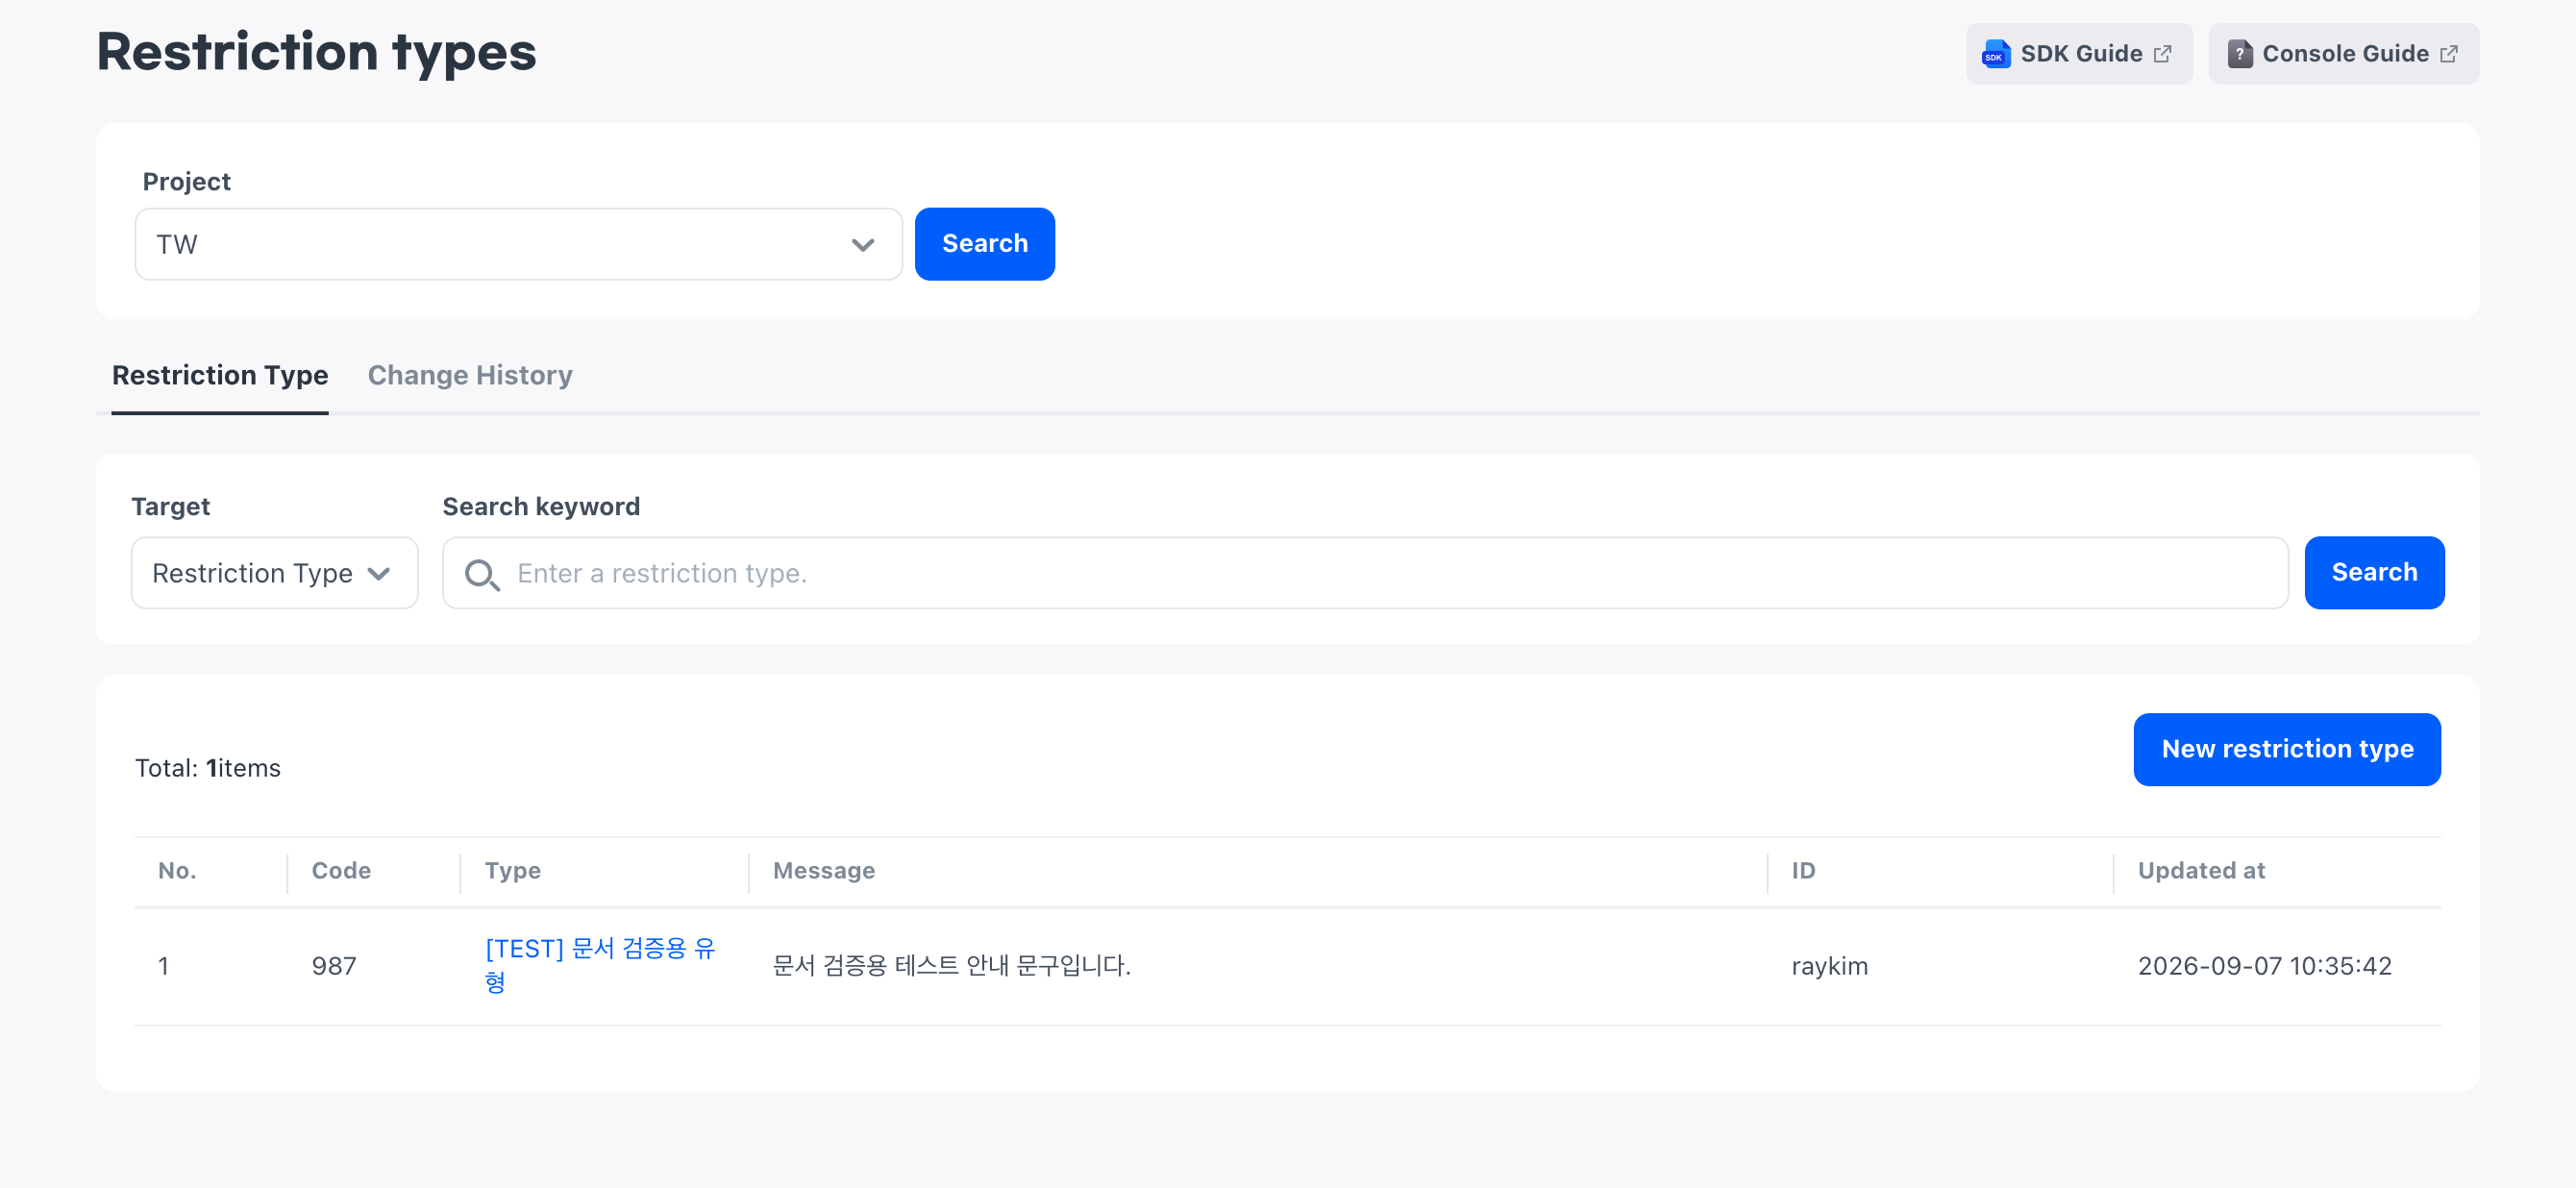
Types are managed per project.
Check before use
To write notice messages for each language, first set the supported languages and default language in App meta info. The language list of restriction types consists of the supported languages chosen there, and the default language is also indicated.
Caution
You cannot delete a registered type or edit its code. Even a type created by mistake remains in the list, so decide how you will divide codes before you register types.
Look up types
Find registered types by code or name to check their content. Choose Restriction Type or Code as the search basis to narrow down the types to find. Restriction Type finds types even if you enter only part of the name, but Code requires the full value.
In the list, you can check the code, type, notice message written in the default language, the console account ID of the operator who last edited the type, and the edit date.
Register a new restriction type
When you register a new type, the operator enters the code and management name directly. The management name is the value that distinguishes restriction types in the console and is not displayed to users. Enter the content to show users in the notice message for each language.
How to set up:
- Select New restriction type.
- Enter a unique code between 100 and 999.
- Enter the restriction type name to distinguish it in the console.
- Choose the default language in the language list and enter the notice message to display to users.
- For notice messages in other languages, choose a language and enter them directly, or fill them all at once with AI auto-translate.
- Select Save.
Notice messages for each language
You must enter the notice message for the default language. If you leave the message for another language empty, the default language message is delivered to users who use that language.
AI auto-translate uses the notice message of the language you are currently viewing as the source and fills in the remaining languages. If other languages already have messages entered, they are overwritten with the translated messages. If you have messages you wrote yourself, keep this in mind before you use it.
If there is only one supported language, there is nothing to translate, so AI auto-translate is not provided.
Handle duplicate codes
You cannot register a code that is already in use. If a code is duplicated, you are notified when you save, so check the type that uses that code in the list, change to a different code, and save.
Edit registered types
After registration, you can edit everything in a type except its code on the details screen. Select a type in the list to open the details screen, and edit the restriction type name and the notice messages for each language.
Edited notice messages also apply as is to usage restrictions already registered with this type. The message displayed to users who are already restricted changes as well, so check whether any restrictions are in effect before you edit a message.
Next steps
To apply a registered type to users, choose that type when you register a new usage restriction in Usage restriction.