Allowlist
'Allowlist' is the screen where you register and manage the targets that can access the app regardless of access restrictions. You can edit registered items, or stop applying them and delete them.
➡️ Console path: Service Access Control > Allowlist
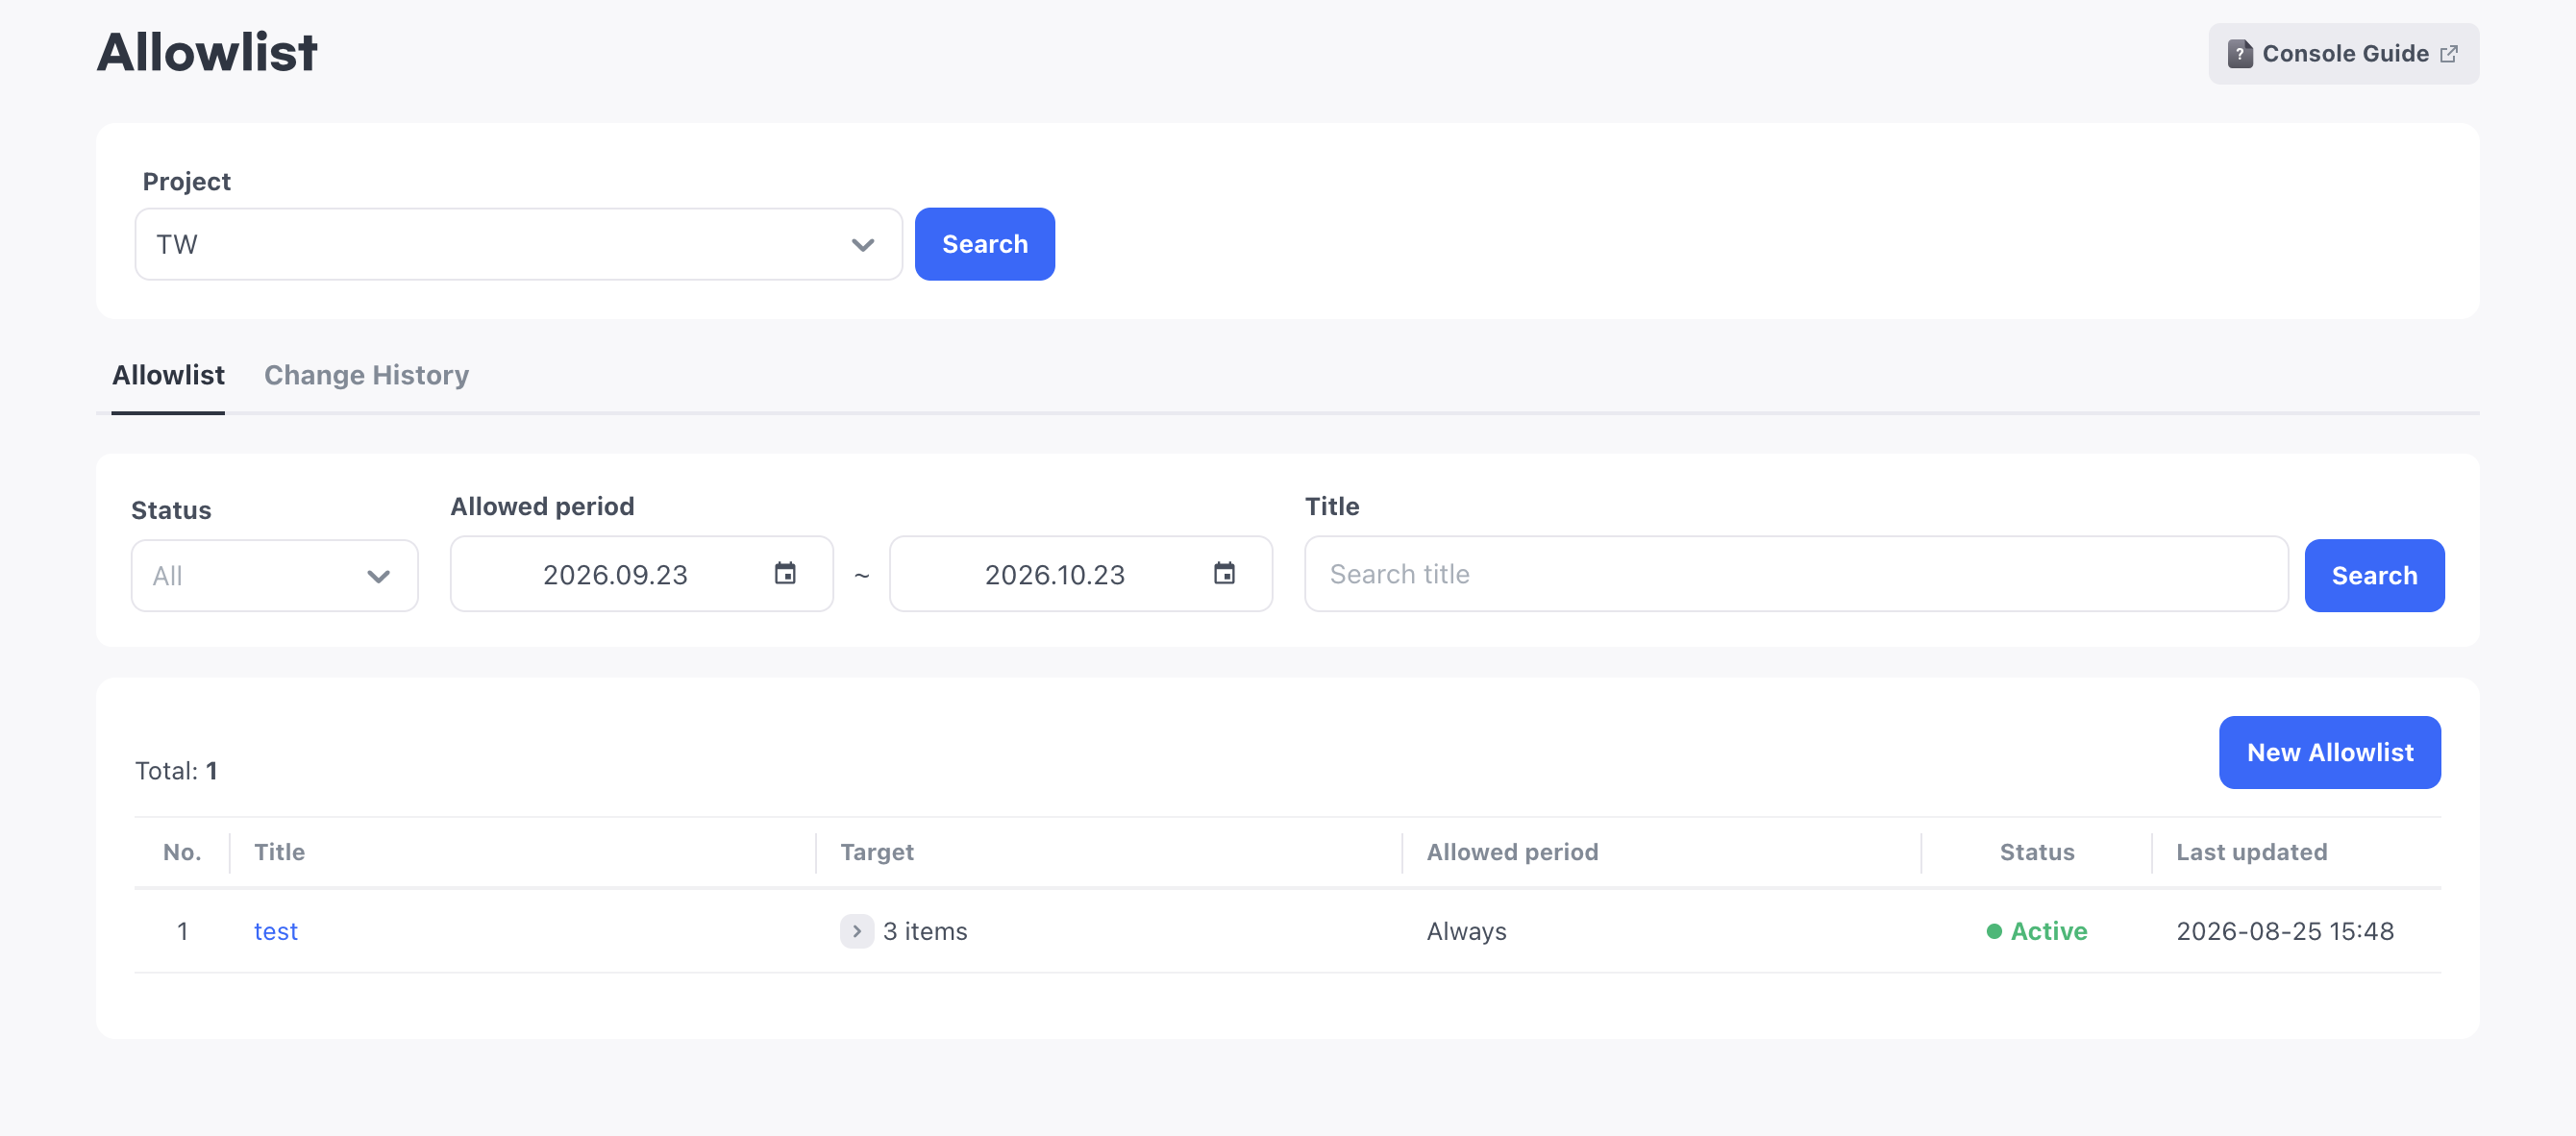
Targets registered in the allowlist can access the app regardless of server maintenance, client update, and service country restriction conditions. Use it to check features with internal accounts before you release the app or during maintenance.
The server automatically applies the allowlist when it processes access control. The app does not retrieve the allowlist separately, but it needs the values that identify the target. Finish developing the app so that it sends the Player ID or access IP as well.
Register an allowlist item
Select New Allowlist to open the registration screen. In each item, you specify one App ID and one app version, and register multiple allowed targets.
How to set up:
- Select New Allowlist.
- Enter a title and choose an App ID.
- Choose a target type and enter the IPs or Player IDs to allow.
- Specify the allowed period.
- Select Save.
Scope
The title is a management name that identifies the item in the console. The Title column in the list and the title search are based on this value. Enter a name that is easy to find later, such as Internal QA allowlist.
The allowlist applies only to the selected App ID. If you also enter an app version, it applies only to that version; if you leave the version empty, it applies to all versions of the App ID. Enter the app version in a format such as 1.2.0. You can enter only one version per item, so to allow multiple versions, register separate items.
Allowed targets
For the target type, choose either IP or Player ID. You cannot register both types in one item, so to allow both, register separate items.
For both types, separate multiple values with commas. You can enter up to 100 values per item.
IP
IPs support the IPv4 and IPv6 formats, and you can also enter them as CIDR ranges such as 210.123.45.0/24. When the address range is fixed, such as for an office or a QA environment, register it as a range.
Player ID
A Player ID is a value that identifies a user, and you can check it in User lookup. The console does not validate Player IDs, so make sure the values are correct before you register them.
Allowed period
Specify the period during which the allowlist applies with a start date and time and an end date and time. After the allowed period ends, registered targets are subject to the same access restrictions as other users.
Register targets that must stay allowed with no end time as Always. When you select Always, the period fields are disabled and the registered item takes effect immediately. It stays in effect with no end time until you change it to Inactive.
Enter the period based on a time zone. The default is the console owner's time zone, and the status of a registered item is calculated based on this allowed period. The criteria for each status are as follows.
- Scheduled: The allowed period has not started yet
- Active: The current time is within the allowed period
- Ended: The allowed period has ended
- Inactive: The item is stopped regardless of the allowed period
Only Active items are reflected in the server's access control processing.
Manage registered items
The Target column of the list shows only the number of registered IPs or Player IDs. To see the actual values, select the title and check them on the detail screen.
When a registered item does not appear in the list
The Allowed period search condition of the list defaults to the last month. You can specify a search period of up to 1 year. If you registered an allowed period that starts in the future, the item falls outside the default search range and does not appear in the list. The registration was processed normally, so widen the search period to include the registered period and search again.
Edit registered content
Select a title in the list to open the detail screen with the content you entered during registration. The allowlist has no type distinction, so you can edit every field on the detail screen. You also use this screen to add or remove allowed targets.
Stop applying an item
If you need to stop allowing targets immediately even though the allowed period has not ended, change the item to Inactive. An item changed to Inactive is not reflected in access control processing even within its allowed period. As a result, its registered targets are subject to the same restrictions as other users.
How to set up:
- In the list, select the title of the item to stop.
- Turn off the active toggle in Current status at the top of the detail screen.
- In the confirmation dialog, select Deactivate.
When you select Deactivate in the confirmation dialog, the change takes effect immediately and the detail screen closes. You do not need to select Save separately. When you turn the active toggle back on, the item returns to its original values and period.
Delete an item
You can delete only items whose status is Scheduled or Ended. To clean up an item changed to Inactive, turn the active toggle back on to return it to the Scheduled or Ended status, and then delete it. You cannot restore deleted items.
Next steps
To control access by country, server maintenance, or app version, see Service access control items.