Export data
Overview
Data export is a function that extracts event data being loaded into Hive analytics every hour and uploads it to cloud storage.
The data provided in data export is event row (raw) data that can be used for analysis according to the purpose by building a database directly or processing it into a desired form.
File conversion and transmission of data are provided by Hive Analytics, but cloud storage requires registration with the cloud service you are using.
Note
Since data is provided by event, split transmission by project is not supported.
What can you do?
Data Analyst
- You can load the data collected from Hive analytics directly into your company's DB, process it into the desired form, and conduct in-depth analysis.
- You can construct a custom dashboard by linking raw data to your own BI tool or analysis environment.
Developer
- You can automatically load Hive event data into your own data pipeline.
- By linking with AWS S3 or GCP Cloud Storage, you can utilize the latest event data every hour directly from cloud storage.
Get started quickly
If you are setting up data export for the first time, follow the steps below to complete cloud storage integration.
- Create a dedicated bucket for data export on the cloud storage you want to use (AWS S3 or GCP Cloud Storage) and prepare the authentication key.
- Access the Analytics Console > Data > Data Export Settings page.
- Select the events (logs) you want to extract. (maximum 30)
- Select a storage (AWS S3 / GCP Cloud Storage) and enter a bucket name.
- Select the data type (CSV / JSON).
- Register the authentication key.
Note
For information on how to create buckets and issue authentication keys for each cloud storage, see All features.
All Features
Data export logic
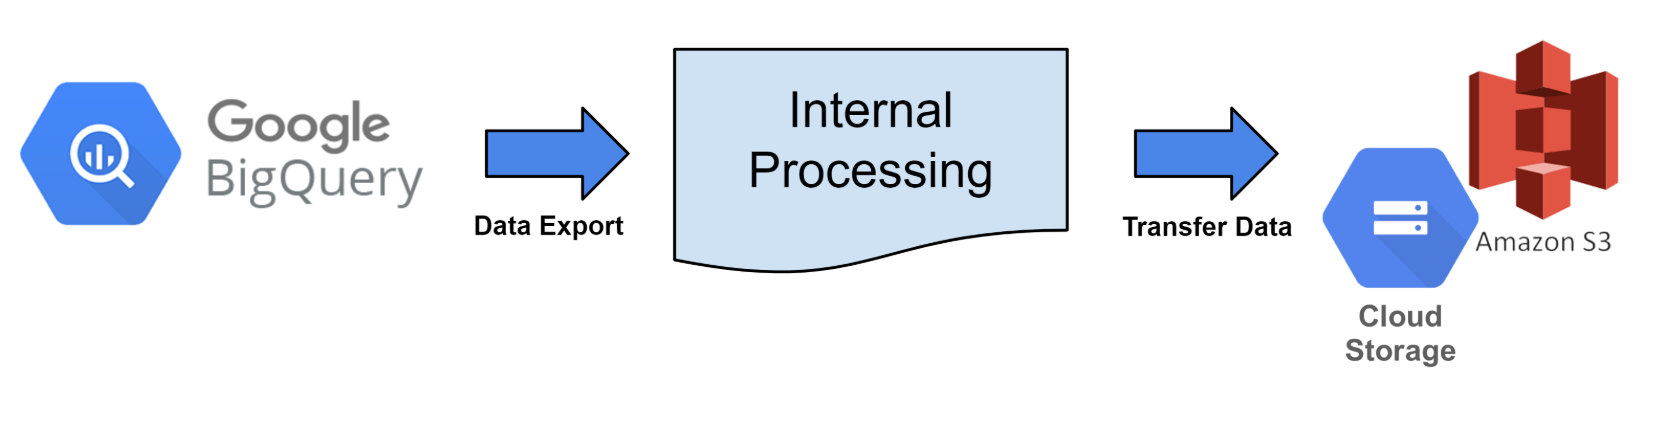
Event data stored in BigQuery is converted into files according to the hourly data export cycle and uploaded to the registered cloud storage.
Based on data
- Search the selected event data and transfer the file to cloud storage.
- Data is extracted based on the hourly transmission cycle based on UTC.
- Example) Extracted and transmitted at 01:00 (UTC) on September 1, 2023 based on data from 00:00:00 to 00:59:59 (UTC) on September 1, 2023
- The partitioning standard is set to view date -1 day for the dateTime attribute.
- Example) When extracting based on data from 00:00:00 to 00:59:59 (UTC) on September 1, 2023, 00:00:00 on August 30, 2023
- If the value of datetime is smaller than the view time -1 day, it will not be included in the export data.
- Data is searched based on the time the data was entered into Big Query.
- Based on
bigqueryRegistTimestampattribute - Data extraction sample Query
- Based on
SELECT *
FROM bigquery_table
WHERE bigqueryRegistTimestamp BETWEEN '2023-09-01 00:00:00' and '2023-09-01 00:59:59'
and dateTime >= '2023-08-31 00:00:00'
Data export settings
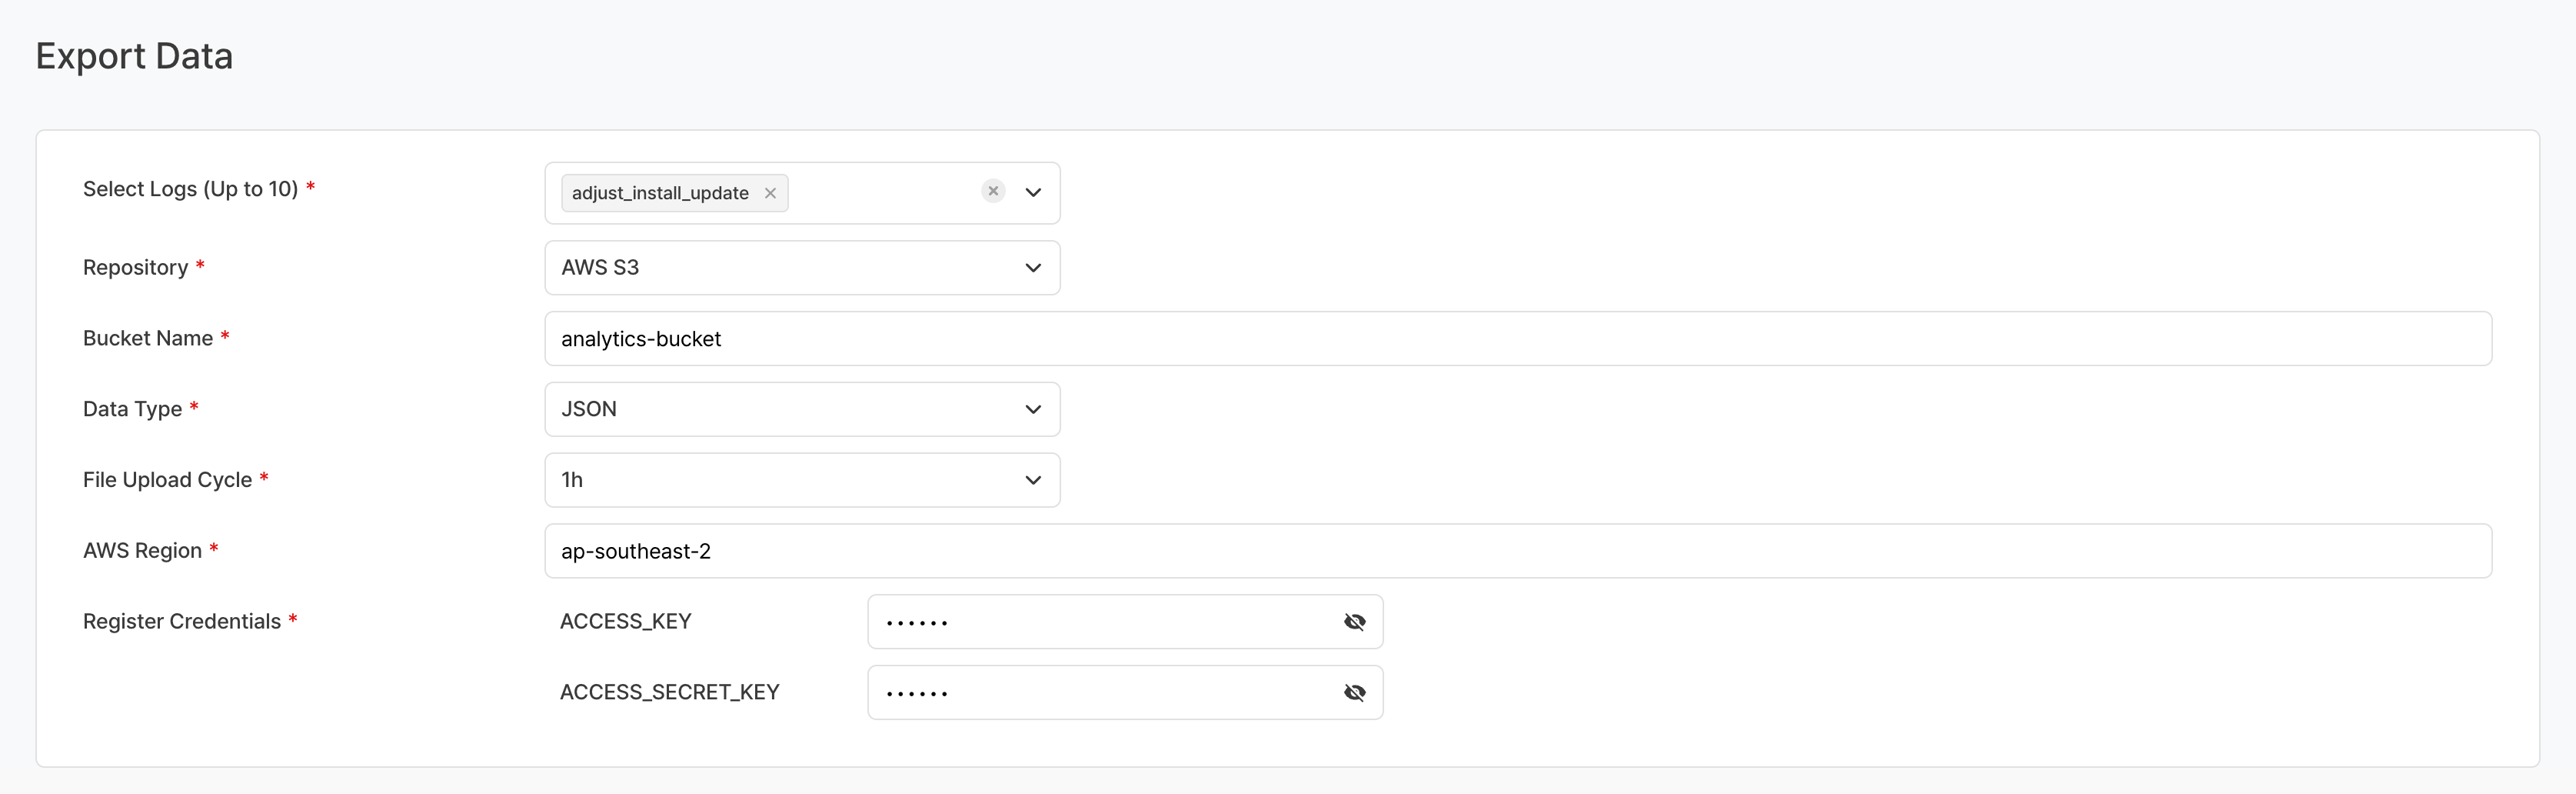
Select event
Select the events (logs) you want to extract.
- You can search and select by entering part of the event name.
- Up to 30 events can be selected.
Select repository
You should use cloud storage as a repository for storing your data.
Supported Cloud:
- AWS S3
- GCP Google Cloud Storage
Location (bucket name)
Enter the storage bucket (bucket) name.
- AWS S3 If the bucket name is
s3://s3_bucket_name→ Enter onlys3_bucket_name - Google Cloud Storage If the bucket name is
gs://google_bucket_name→ Enter onlygoogle_bucket_name
data type
Two data types are provided.
- CSV
- JSON
- All files are encoded with UTF-8.
File upload cycle
Data in an hourly range is extracted and uploaded every hour.
- The time is extracted based on the
bigqueryRegistTimestampattribute value. (based on UTC)- Example) Data extraction and upload start at 15:00 (based on UTC): Data from 05:00:00 to 05:59:59 is extracted from
bigqueryRegistTimestampattribute.
- Example) Data extraction and upload start at 15:00 (based on UTC): Data from 05:00:00 to 05:59:59 is extracted from
- Completion time may vary depending on the number of files and upload capacity.
Register authentication key
Permission is required to upload data to cloud storage. You must register an authentication key or authentication key file with data storage permission. Authentication key registration methods vary depending on the cloud service.
- S3 — Register ACCESS_KEY, ACCESS_SECRET_KEY values

- GCS — Register authentication key file

Cloud storage settings
GCP - Google Cloud Storage
To export data to Google Cloud, the following settings are required.
-
On the Google Cloud Console page, go to Cloud Storage.

-
Create buckets (bucket) to be dedicated to data export.
- The bucket name cannot be changed once set, and if necessary, the existing bucket must be deleted and a new one created.
- It is recommended to create a bucket specifically for data export.
-
You must create a service key to provide for data export and grant write permissions to the bucket.
- On the console page, go to IAM and Administrator → Service Account menu.
- Click Create service account to create a new account.
- You can create ID for your account with any name you want. (Example:
hive_data_transfer_account@projectId.iam.gserviceaccount.com)
- After creating an account, go to the Key tab and create a key for the service.
- Create a key file in the form of JSON by adding key → create new key.
- Keep the created key file safe after downloading.
- You can create ID for your account with any name you want. (Example:
- Go back to Cloud Storage and in the bucket(bucket) you created, go to the Permissions tab.

- In the Permissions tab, enter the newly created service account ID in Grant access → Add primary member.
- In Role Assignment, add the two permissions Cloud Storage → Storage Object Creator, Storage Object Viewer and then click OK.
-
After all settings are complete, register the key file for the service on Hive Analytics' data export settings page.
AWS - S3
To export data to AWS, the following settings are required.
- On the AWS console page, navigate to Storage → S3.
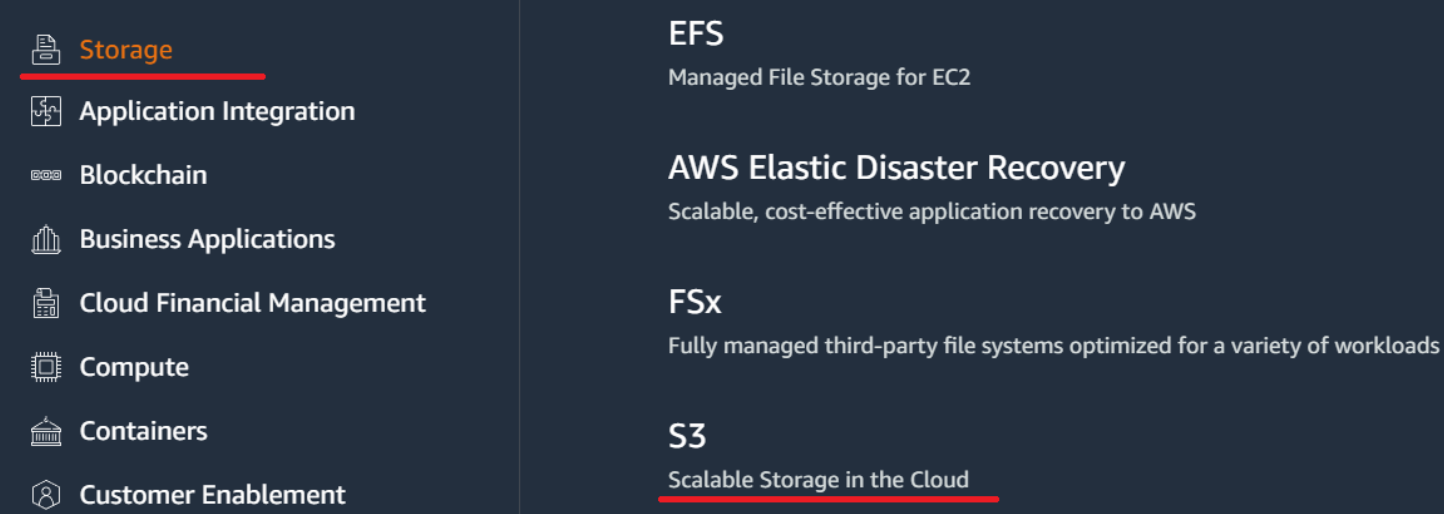
- Create buckets (bucket) dedicated to data export.
- The bucket name cannot be changed once set, and if necessary, the existing bucket must be deleted and a new one created.
- Recommended for use only as a bucket for data export only.
- You will need to create an account to export data.
- This user should only be used as a dedicated account for data export. Creates a new IAM user.
- Generate an access key for the account you created. Related information can be found in IAM User's Access Key Management - Access Key Generation.
- Keep your access keys in a safe place.
- Add inline policy for the account you created.
- Refer to To include an inline policy for a user group (console) and create a policy.
- Select the JSON tab to create policy, and paste the following JSON code.
- The
YOUR-BUCKET-NAME-HEREitem specifies the created bucket name.
{
  "Version": "2012-10-17",
  "Statement": [
    {
      "Effect": "Allow",
      "Action": ["s3:GetBucketLocation", "s3:ListBucket"],
      "Resource": ["arn:aws:s3:::YOUR-BUCKET-NAME-HERE"]
    },
    {
      "Effect": "Allow",
      "Action": ["s3:PutObject"],
      "Resource": ["arn:aws:s3:::YOUR-BUCKET-NAME-HERE/*"]
    }
  ]
}
- After you're done, add the access keys you saved to your Analytics console > Data > Data Export settings.
File save format
Data storage directory structure
Common file path formats:
- Build Type: Has two values:
sandboxandlive. When set at sandbox, it is saved as sandbox. - YYYY/MM/DD: The standard year/month/day from which data is extracted. (based on UTC)
- UUID: Random value to prevent overwriting due to duplicate file names.
- File extension: Depends on the selected file type.
| File type | Compression or not | final file name |
|---|---|---|
| json | V | withhive/data_export/buildType/YYYY/MM/DD/eventName/eventName_YYYY_MM_DD_UUID.json.gzip |
| csv | V | withhive/data_export/buildType/YYYY/MM/DD/eventName/eventName_YYYY_MM_DD_UUID.csv.gzip |
file extension
- csv.gzip: A file consisting of data with fields separated by commas (,). Encryption settings are not possible when compressing files (not supported).
- json.gzip: Javascript A file consisting of data characters structured in object grammar. It is separated by line, and is a file that compresses the json file into gzip. Encryption settings are not possible when compressing files (not supported).
Precautions & Tips
- Past data cannot be retroactive: Data export operates from the time of registration. Historical data collected prior to registration will not be transferred retroactively.
- Maximum number of events limited: The maximum number of events that can be selected is 30.
- Limit the total amount of extracted data per event: When extracting data, if it exceeds 500Mbytes, it will be excluded from transmission. The actual transmitted data is a compressed file of approximately 15%.
Related menu
- Event — Define events and attributes to export
- MMP Integration — Integration with external tools and checking data collection status