App server
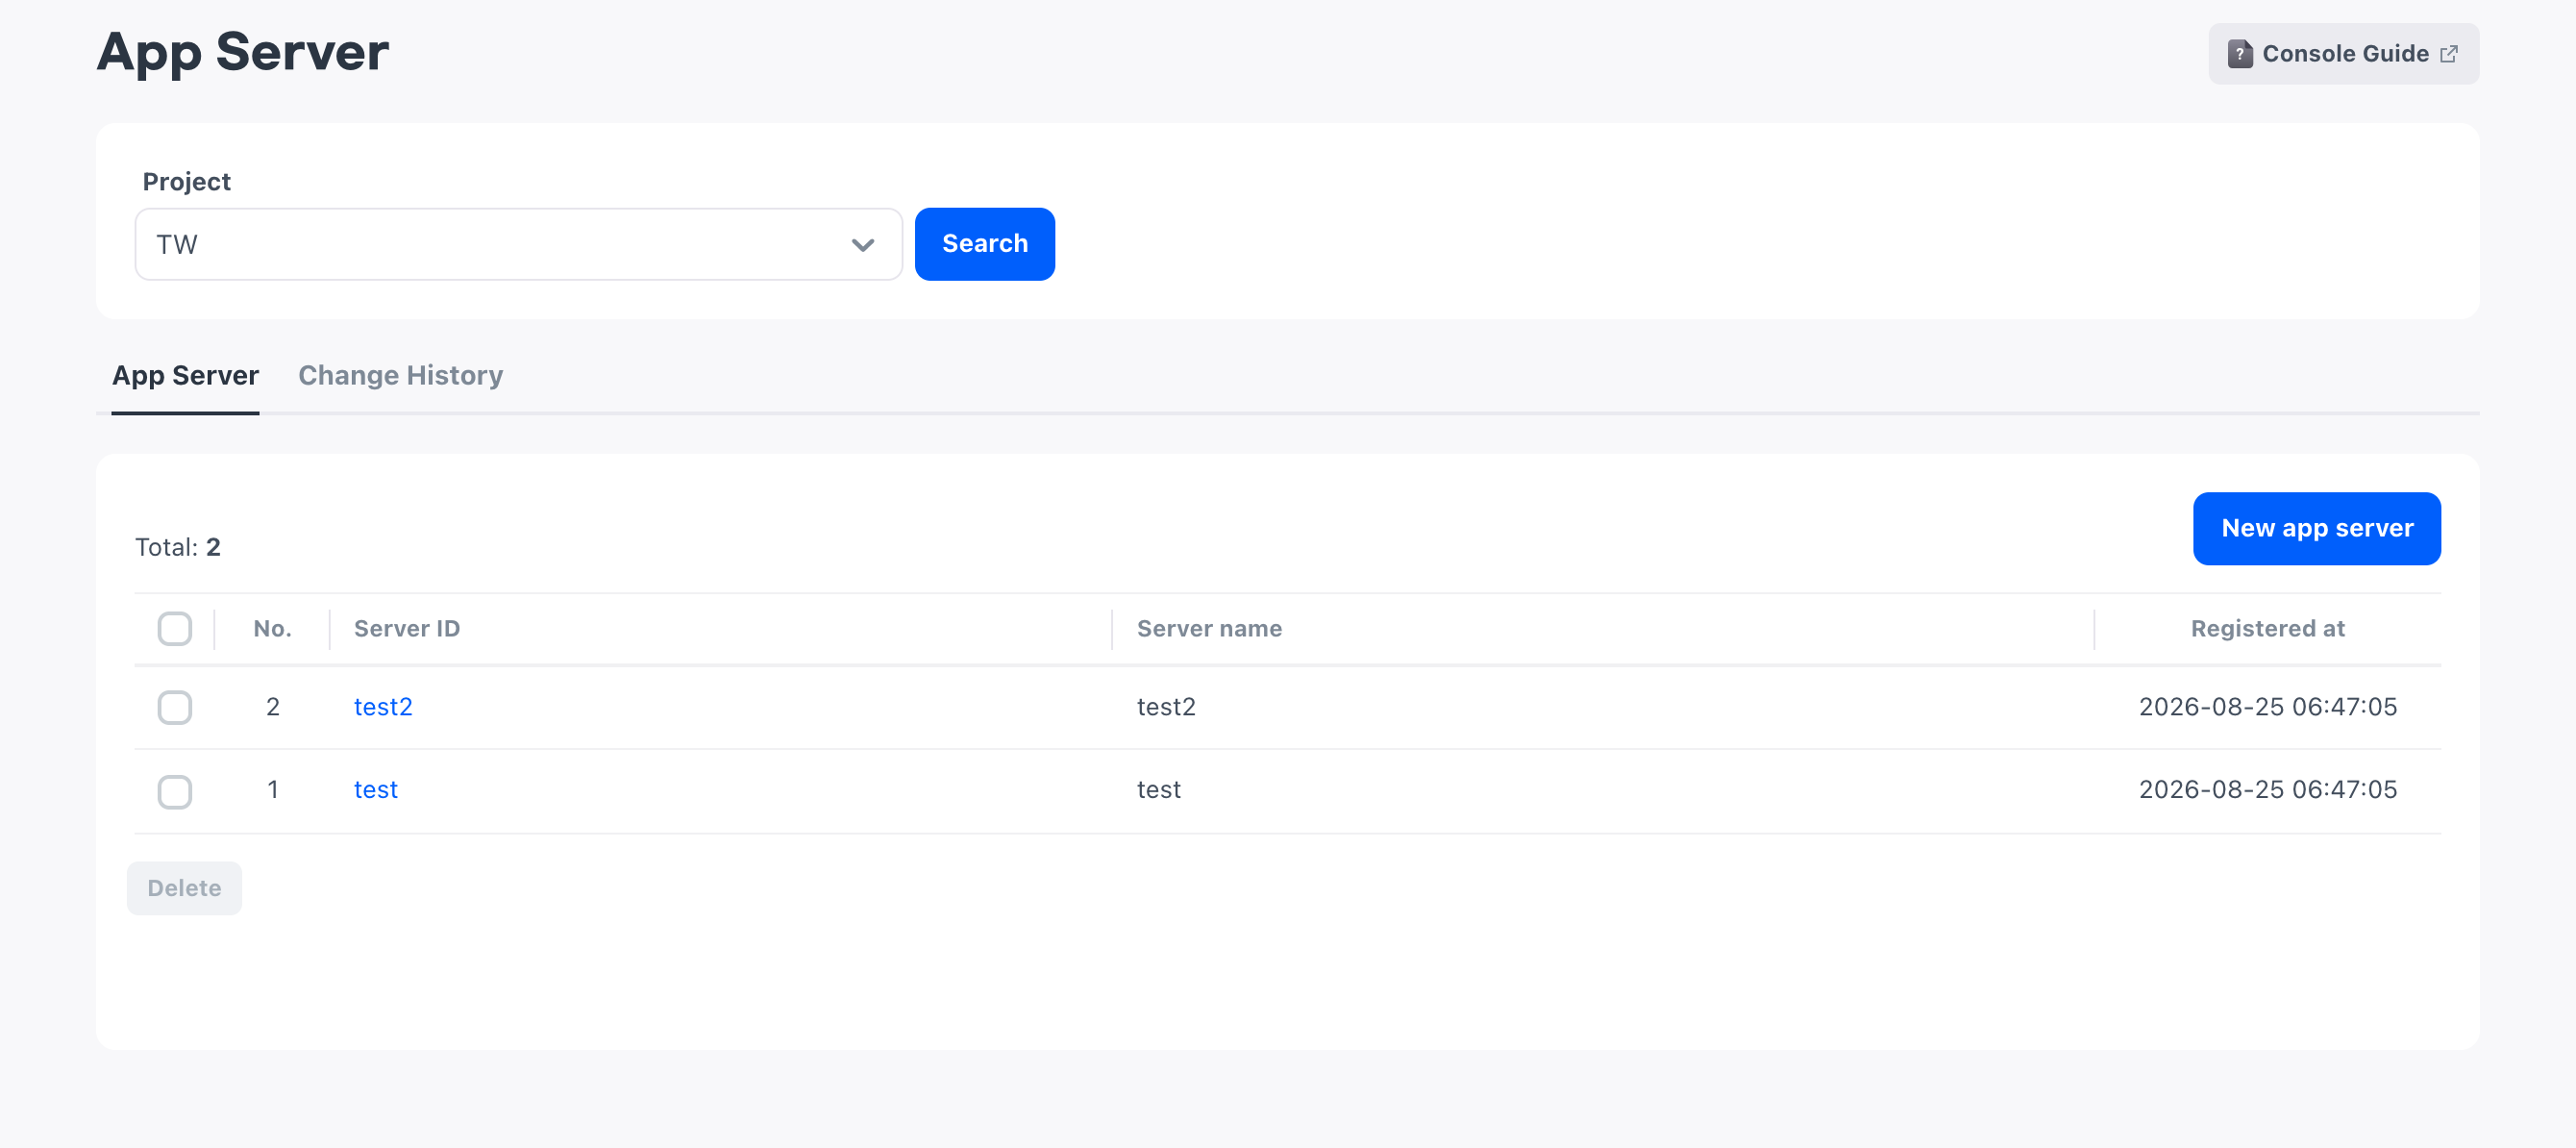
'App server' is the menu where you register and manage the list of servers your app operates. In console settings that target servers, you choose servers from the list registered here.
➡️ Console path: App Info > App Server
Server ID and server name
Register the identifier that distinguishes a server as the server ID, and the name that operators recognize as the server name.
- Server ID: The identifier the console uses to distinguish servers
- Server name: A management name for recognizing the server in the console list
Server ID
You cannot change the server ID after registration, so check that it is the same value as the server identifier used in your app before you register it.
Server name
The server name is a management name that is not exposed to users. Use a name that operators can easily recognize. You can edit the server name even after registration.
Register servers
To register servers, click New app server. You add servers the same way even to a project that already has registered servers.
In the registration pop-up, you enter server information directly or register multiple servers at once with a CSV file. With either method, check that the values are filled in the pop-up and then save.
Enter directly
If you have only a few servers to register, enter the values directly in the pop-up. Each server corresponds to one row, so add as many rows as the number of servers to register.
How to set up:
- Click New app server.
- Enter the Server ID and Server name.
- To register more servers, add rows and enter them the same way.
- Click Save.
Register servers in bulk with CSV
If you have many servers to register, upload them all at once with a CSV file. When you upload the file, the console fills in the input fields of the pop-up with the values and shows them, so check that the values were entered correctly and then save.
CSV is a file format that stores data in rows and columns. Keep the column structure of the file you got from Download template, and write one row per server. You can upload up to 100 servers at a time, so if you have more servers, split them into multiple files and register them.
How to set up:
- Click New app server.
- Click Download template to download the CSV template.
- Fill in the server IDs and server names in the template.
- Click Register servers from file and upload the file you wrote.
- Check the server list filled in the pop-up.
- Click Save.
Entries with an invalid format or duplicates are excluded, so not every server in the file is necessarily saved. Check the list reflected in the pop-up before you save. To find missing servers, compare the registration result with the original file, fix the corresponding rows, and register them again.
Check registered servers
After you save, check that all registered servers appear in the list. Check the server IDs and server names, and then configure the features that will use the servers.
Edit and delete servers
To change the management name of a registered server, select the server ID in the list. In the details pop-up, edit the Server name and click Save.
Before you delete a server, check the subscription server notification URL connected to it. Even if you register the same server ID again after deletion, the previous URL is not restored.
To delete a server, click Delete in the details pop-up, and then click Delete in the confirmation dialog. If you registered the same server again, also enter the Subscription server notification URL again.
Next steps
Choose registered servers as target servers in the following settings.
- Service access control items: Register server maintenance by choosing the servers to put under maintenance
- Subscription server notification URL: Register the subscription status change notification URL for each server