PG settings
'PG settings' is the screen where you decide the payment gateway (PG) providers that process payments and set the countries where payment is available and the payment methods for each PG provider. You also register the credentials issued by PG providers on this screen.
➡️ Console path: Payment > PG Settings
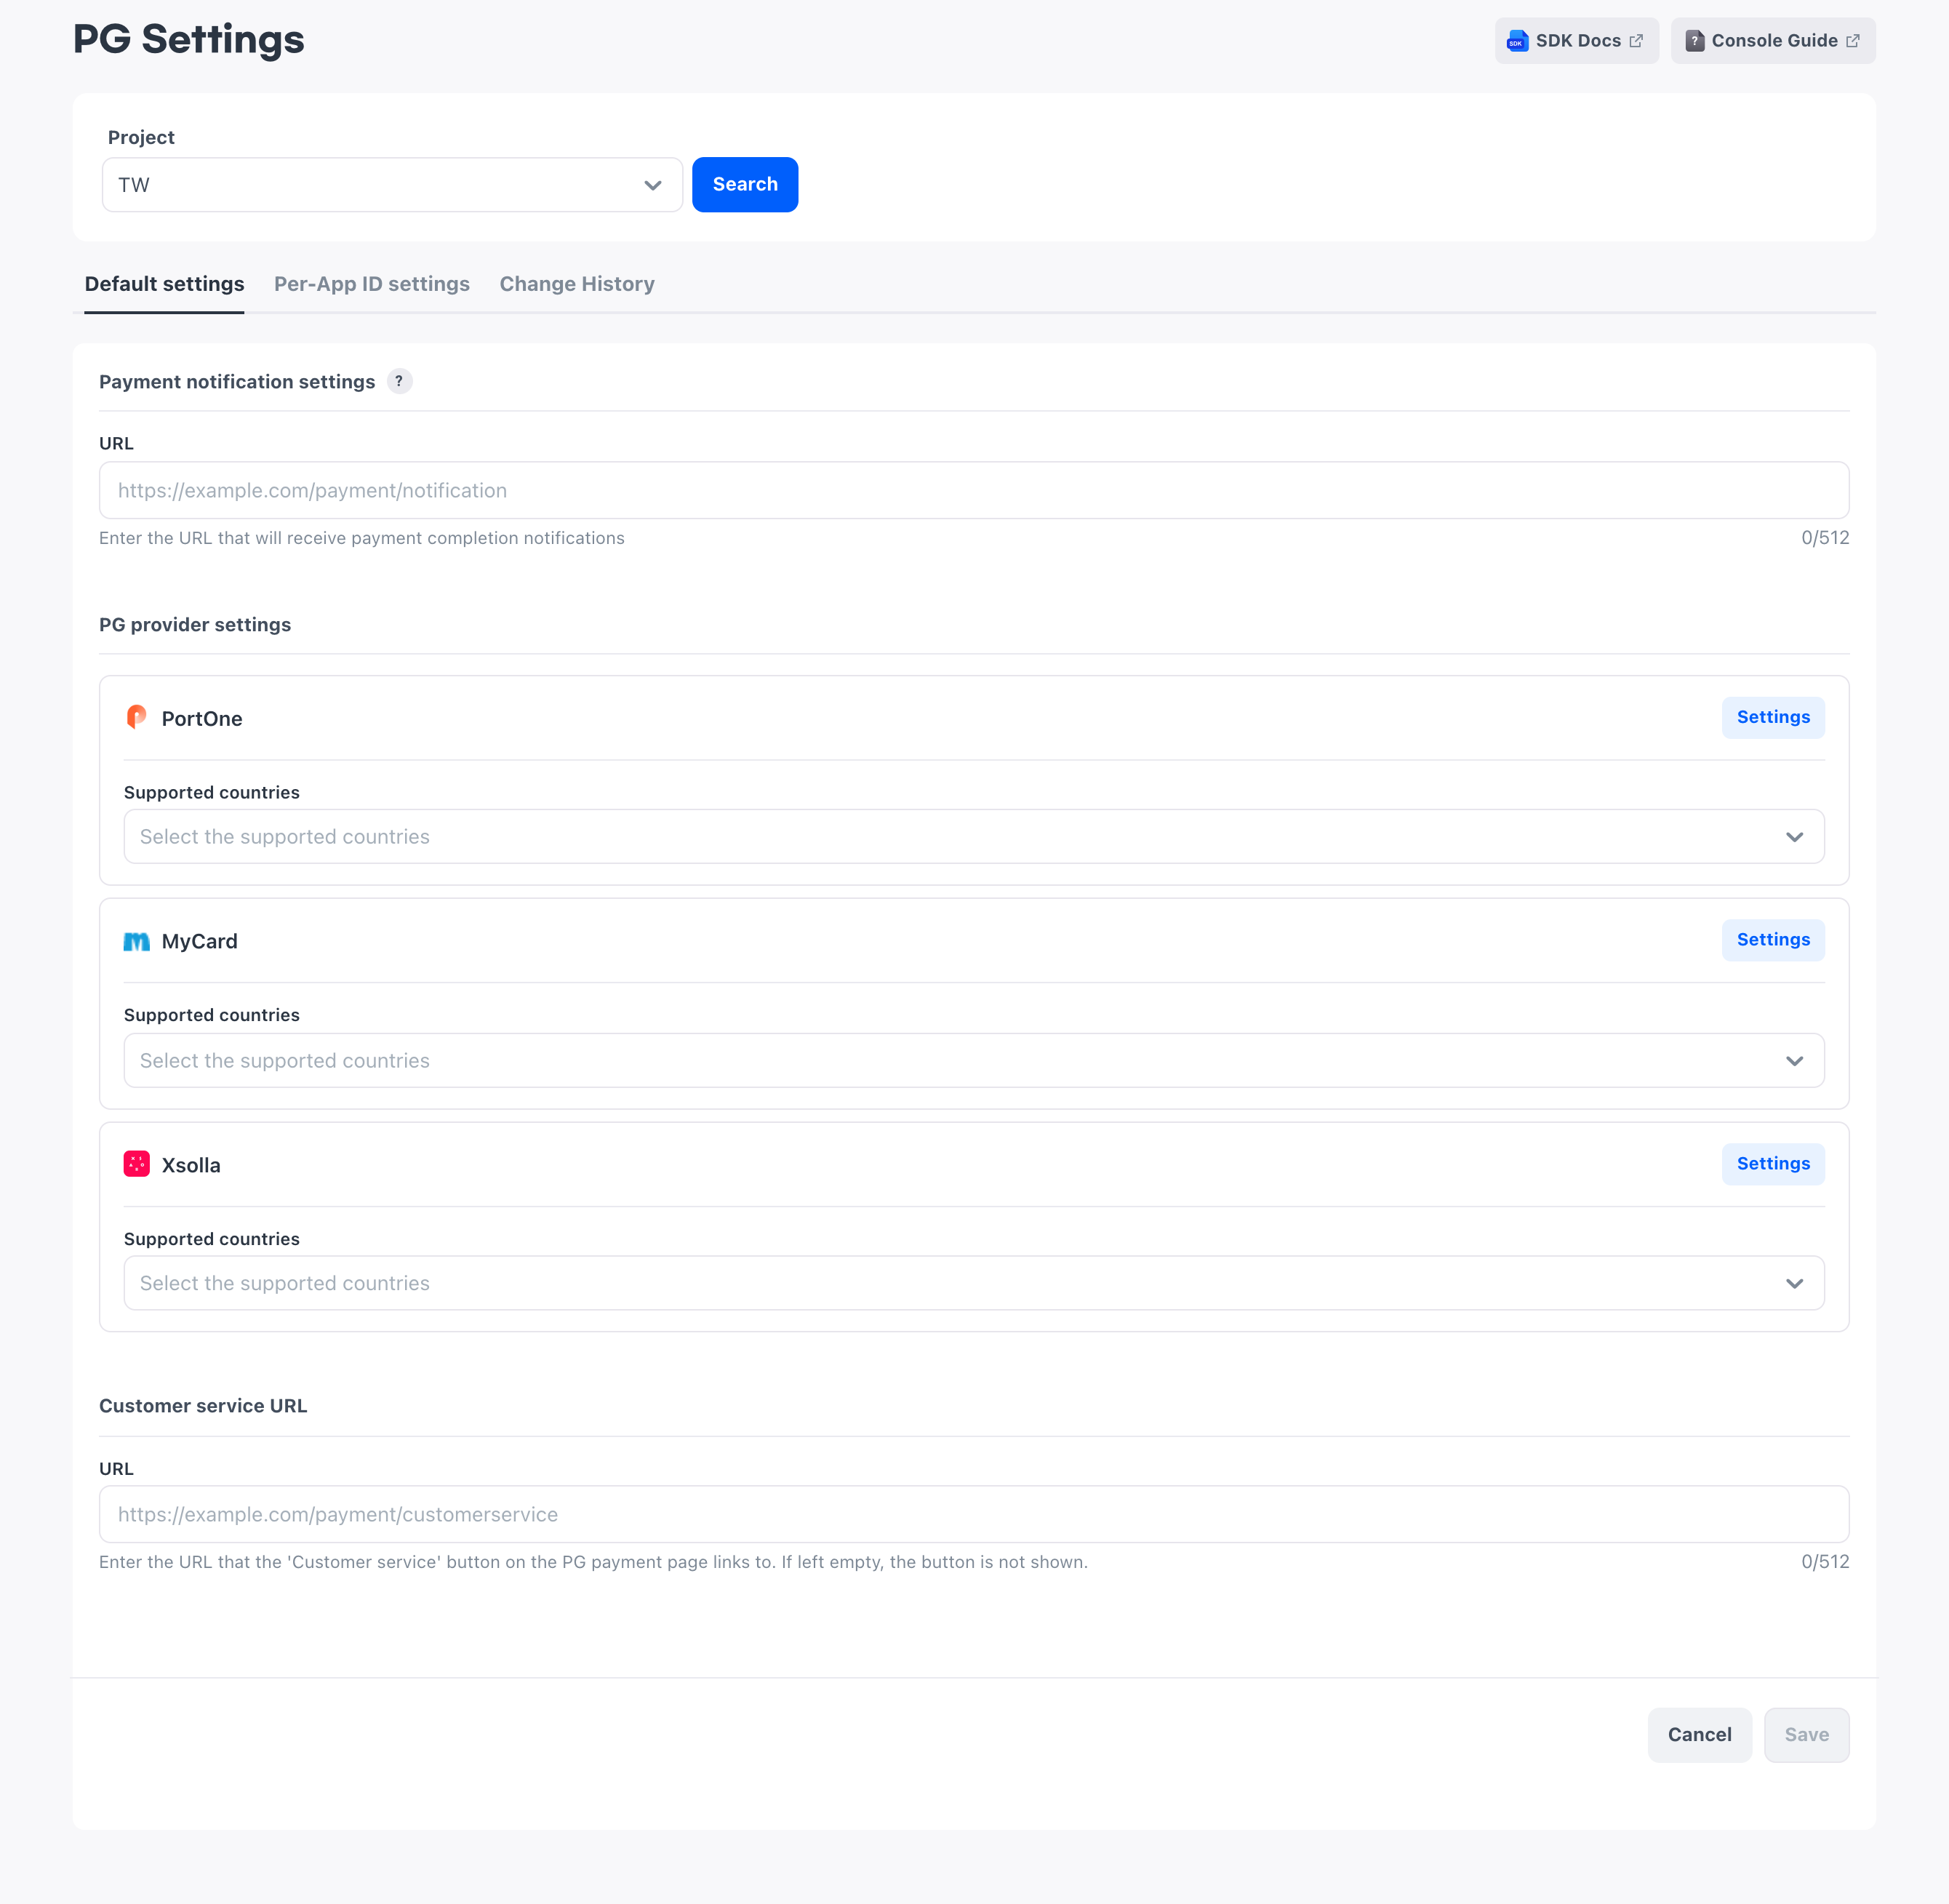
PG payments are used only with App IDs whose store is Direct distribution. Direct distribution App IDs for Windows and macOS fall into this category, and you cannot set up PG payments for Google Play and App Store App IDs. You cannot change the runtime environment or store after you create an App ID, so if you have no direct distribution App ID, create a new one in Create an App ID.
Credentials to get from the PG provider
Get the credentials from the PG provider you will use. The issuance procedure for each PG provider is as follows.
- PortOne: In the PortOne console, register the IAP server callback URL and configure the PG provider, and then get the merchant ID, REST API Key, and REST API Secret
- Xsolla: Contact Xsolla to get the project ID and Secret Key
- MyCard: Generate the Hash Key in MyCard, and then submit the generated key, the IPs and URLs to use for payment, and registration information to MyCard to receive the FacServiceId
Also prepare the URL to receive payment information when a payment is completed.
Register the payment notification and customer service URLs
In Payment notification settings, enter the URL to receive payment information when a payment is completed. This URL is used in common regardless of the PG provider.
In Customer service URL, enter the address to go to when the user selects Customer service on the PG payment page. If you leave it empty, the Customer service button does not appear on the payment page, so enter a value to guide users to a payment inquiry channel.
Specify payment countries for each PG provider
Decide which PG providers to use among PortOne, MyCard, and Xsolla, and choose the countries where each PG provider allows payment. If you choose All at the top of the list, all countries are selected together.
A country can be assigned to only one PG provider. You cannot choose a country assigned to one PG provider for another PG provider, and if you choose All for one PG provider, you cannot choose countries for other PG providers. To use multiple PG providers together, divide the countries among them.
You do not need to assign countries to every PG provider. Save PG providers you will not use with their countries left empty.
Set PG provider credentials and payment methods
Select Settings on a PG provider card to open the settings screen for that PG provider. Here you enter the credentials and choose the payment methods to use.
PortOne
Enter the merchant ID, REST API Key, and REST API Secret issued by PortOne.
Enter Chain ID (NAVER PAY) only when you accept payments with NAVER PAY. Enter Tier code when you have a value issued by PortOne. If neither applies, leave them empty.
Payment methods are divided by payment channel, so choose the payment methods to use for each channel. Each channel also shows whether its integration type is Live or Test, so select channels while distinguishing those for actual payments from those for testing.
MyCard
Enter the FacServiceId you received from MyCard.
The Hash Key is created when you select Auto-generate to the right of the input field. You receive the FacServiceId only after you submit this key to MyCard, so first generate and save the key, and then fill in the value you received from MyCard.
Xsolla
Enter the project ID and Secret Key issued by Xsolla.
You cannot set payment methods separately for each country. The country list on the Xsolla settings screen shows only the countries assigned to Xsolla on the PG Settings screen, and All is selected at first. If you change the country, only the payment methods supported in that country appear in the list. However, selecting or deselecting a payment method applies to all countries that support that payment method.
Save order
The PG provider settings screen and the PG settings screen are saved separately, so after you save the PG provider settings, you must save once more on the PG Settings screen for the URLs and country information to take effect.
How to set up:
- Enter the URL to receive payment information and the customer service URL.
- On the card of each PG provider to use, choose the countries where payment is allowed.
- Select Settings on the PG provider card, enter the credentials and payment methods, and select Save on the settings screen.
- Select Save on the PG Settings screen to save the URLs and the country information for each PG provider.
Per-App ID PG settings
If you use different PG providers or payment methods for each App ID, register individual settings on the Per-App ID settings tab. This tab shows only App IDs whose store is Direct distribution.
The Use default settings toggle works the same way as in Store settings. For details on how it works, see Configure credentials per App ID. When you turn this item off, you set the PG provider countries, credentials, and payment methods for that App ID individually.
How to set up:
- On the Per-App ID settings tab, choose the App ID to configure.
- Turn off Use default settings.
- Enter the countries and PG provider settings to apply to that App ID.
- Select Save.
Next steps
- Price tier: Set up price tiers by currency to use for PG payments
- Product registration: Register products to sell through PG