Product registration
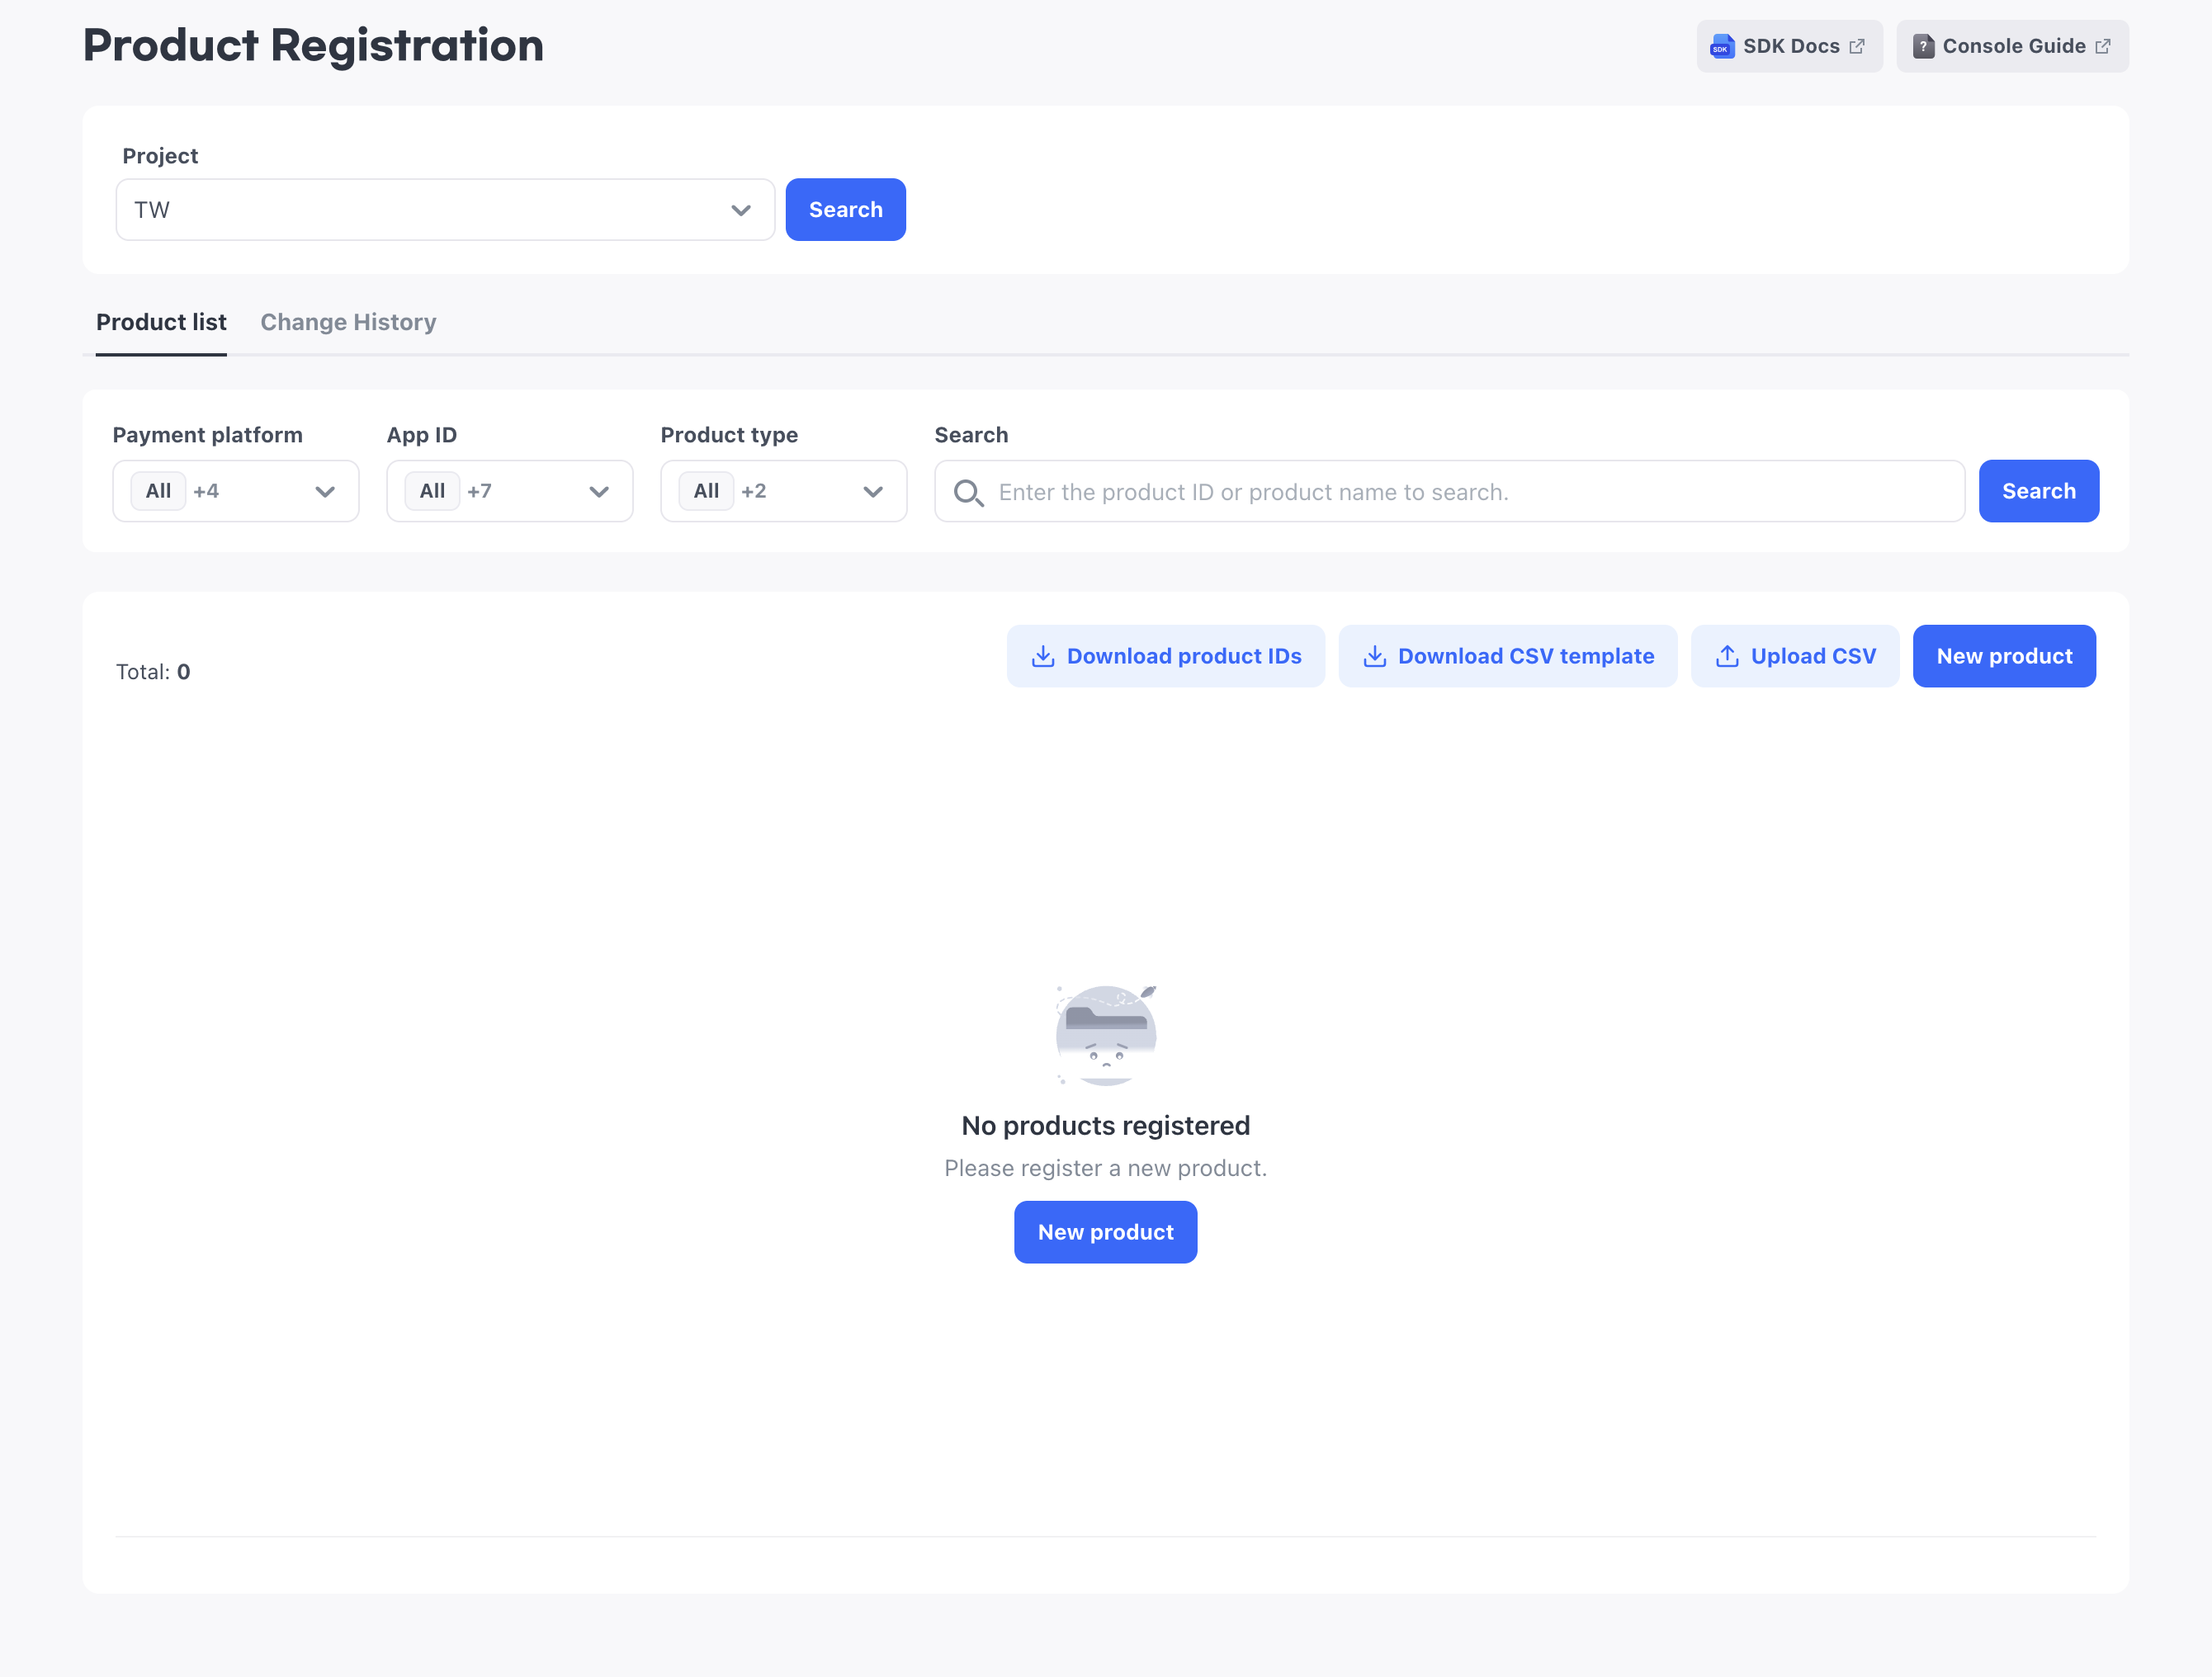
'Product registration' is the screen where you register the products to sell in your app by product ID and manage their payment platform, price, and sales status. When the app retrieves the product list, it receives only the products registered for its App ID, so specify, for each product, the App IDs to sell it on.
➡️ Console path: Payment > Product Registration
Check before registration
For products sold through store payments, register the product information registered in the store as is. For how to check product information in the stores, see the following.
For products sold through Steam or PG, you do not enter prices directly; you choose them from a price tier. First create the price tier to use in Price tier and set it to Active.
Register product information
How to set up:
- Select New product.
- Enter the product ID.
- Choose the payment platforms and the App IDs to sell on.
- Enter the product name, product type, and price.
- Select Register.
The following sections describe, in order, what to know when you decide each item.
Product ID
The product ID is a unique value that distinguishes products. Use only lowercase English letters, numbers, periods, and underscores.
You cannot reuse a product ID that is already registered, and you cannot edit or delete the value after registration. Check that it is the same value as the product ID used in your app and the store before you register it.
Payment platform and App ID
Choose one or more platforms to sell the product on from Google Play, App Store, Steam, and PG. If you sell the same product on multiple platforms, choose them together.
Only App IDs that belong to the chosen payment platforms appear in the list, so choose the payment platforms first. If you chose PG, only App IDs whose store is Direct distribution are displayed.
The payment platform options show only platforms for which the project has App IDs. If the platform you want to sell on does not appear, first create an App ID in Create an App ID. For an App ID that sells through PG, you must choose Direct distribution as the store, and you cannot change the store after you create the App ID.
Product name and product description
How the product name and product description are used and entered differs by payment platform. Google Play and the App Store show users the name registered in the store, so the product name you enter here is used only to distinguish products in the console. On the other hand, Steam and PG display the values you enter here to users as is, so prepare the values in the languages users see.
When you choose a Steam App ID or a direct distribution App ID, language tabs and a product description field appear. Enter the product name and product description for each language. The product description is additional information delivered to users along with the product name, so you can leave it empty.
The language tabs show the supported languages registered in App meta info. If the language tabs do not appear, the supported languages have not been set yet, so set them in App meta info and then return to this screen.
You must enter the product name for the default language among the language tabs. You can leave the other languages empty. For languages you do not enter, the value of the default language is used instead.
Automatic translation of text for each language
When there are two or more supported languages, fill in the product names and product descriptions of the remaining languages all at once with AI auto-translate. The language you are currently entering becomes the basis for translation, and if other languages already have text entered, it is overwritten with the translated text. If you have text you wrote yourself, keep this in mind before you use it.
Product type and price
Choose Consumable or Subscription as the product type. Assign the subscription product type only to products for which you chose only Google Play and App Store as payment platforms. If you also choose Steam or PG, you cannot set the product as a subscription product.
The way to set prices for each payment platform is as follows.
- Google Play, App Store: Enter the price directly
- Steam, PG: Choose from the tiers of the Active price tier in Price tier
Register products in bulk with CSV
If you have many products to register, you can register multiple products at once with a CSV file. When you upload the file, the console fills in the input fields and shows them, so check that the values were entered correctly before you register.
If the file format does not match the template, the entire registration fails instead of only part of it being skipped. When you register for the first time, download the template containing the required columns with Download CSV template and use it. To refer to products you already registered, download the current list with Download product IDs.
Manage registered products
Select a product ID in the list to open the edit screen. The product ID is read-only, and you edit other information the same way as when you registered it. If there are many products, narrow down the list by payment platform, App ID, and product type, or search by product ID or product name.
The Price in the list shows the value of only one payment platform. It shows the value of the first platform in the order Google Play, App Store, Steam, and PG, and groups the rest as +N, so to check all values by platform, hover over +N. For Google Play and the App Store, the entered amount is displayed, and for Steam and PG, the chosen price tier is displayed.
If you delete all App IDs of a payment platform from the project, that platform no longer appears on the product edit screen. However, the payment platform and App ID values saved in the product remain and are not removed even if you edit and save other items.
Set the sales status
Manage the sales status of a product with Active in the list. When it is on, the product can be purchased, and when it is off, it cannot. Newly registered products are on, so turn off products you are not ready to sell yet after you register them.
Next steps
- Subscription server notification URL: Register the server URL to receive subscription status change notifications
- Purchase history: Check the payment history